Bobble Stripe Farmhouse Pillow

Lately I’ve been seeing a lot of bobble stripe blankets on IG and Ravelry. While I love the fun look of these projects, I know myself, and I know I don’t always have the patience to take on big blanket projects that will take me weeks to complete! But I couldn’t resist adapting this fun look into something more manageable, and I thought - why not make it a pillow instead?!
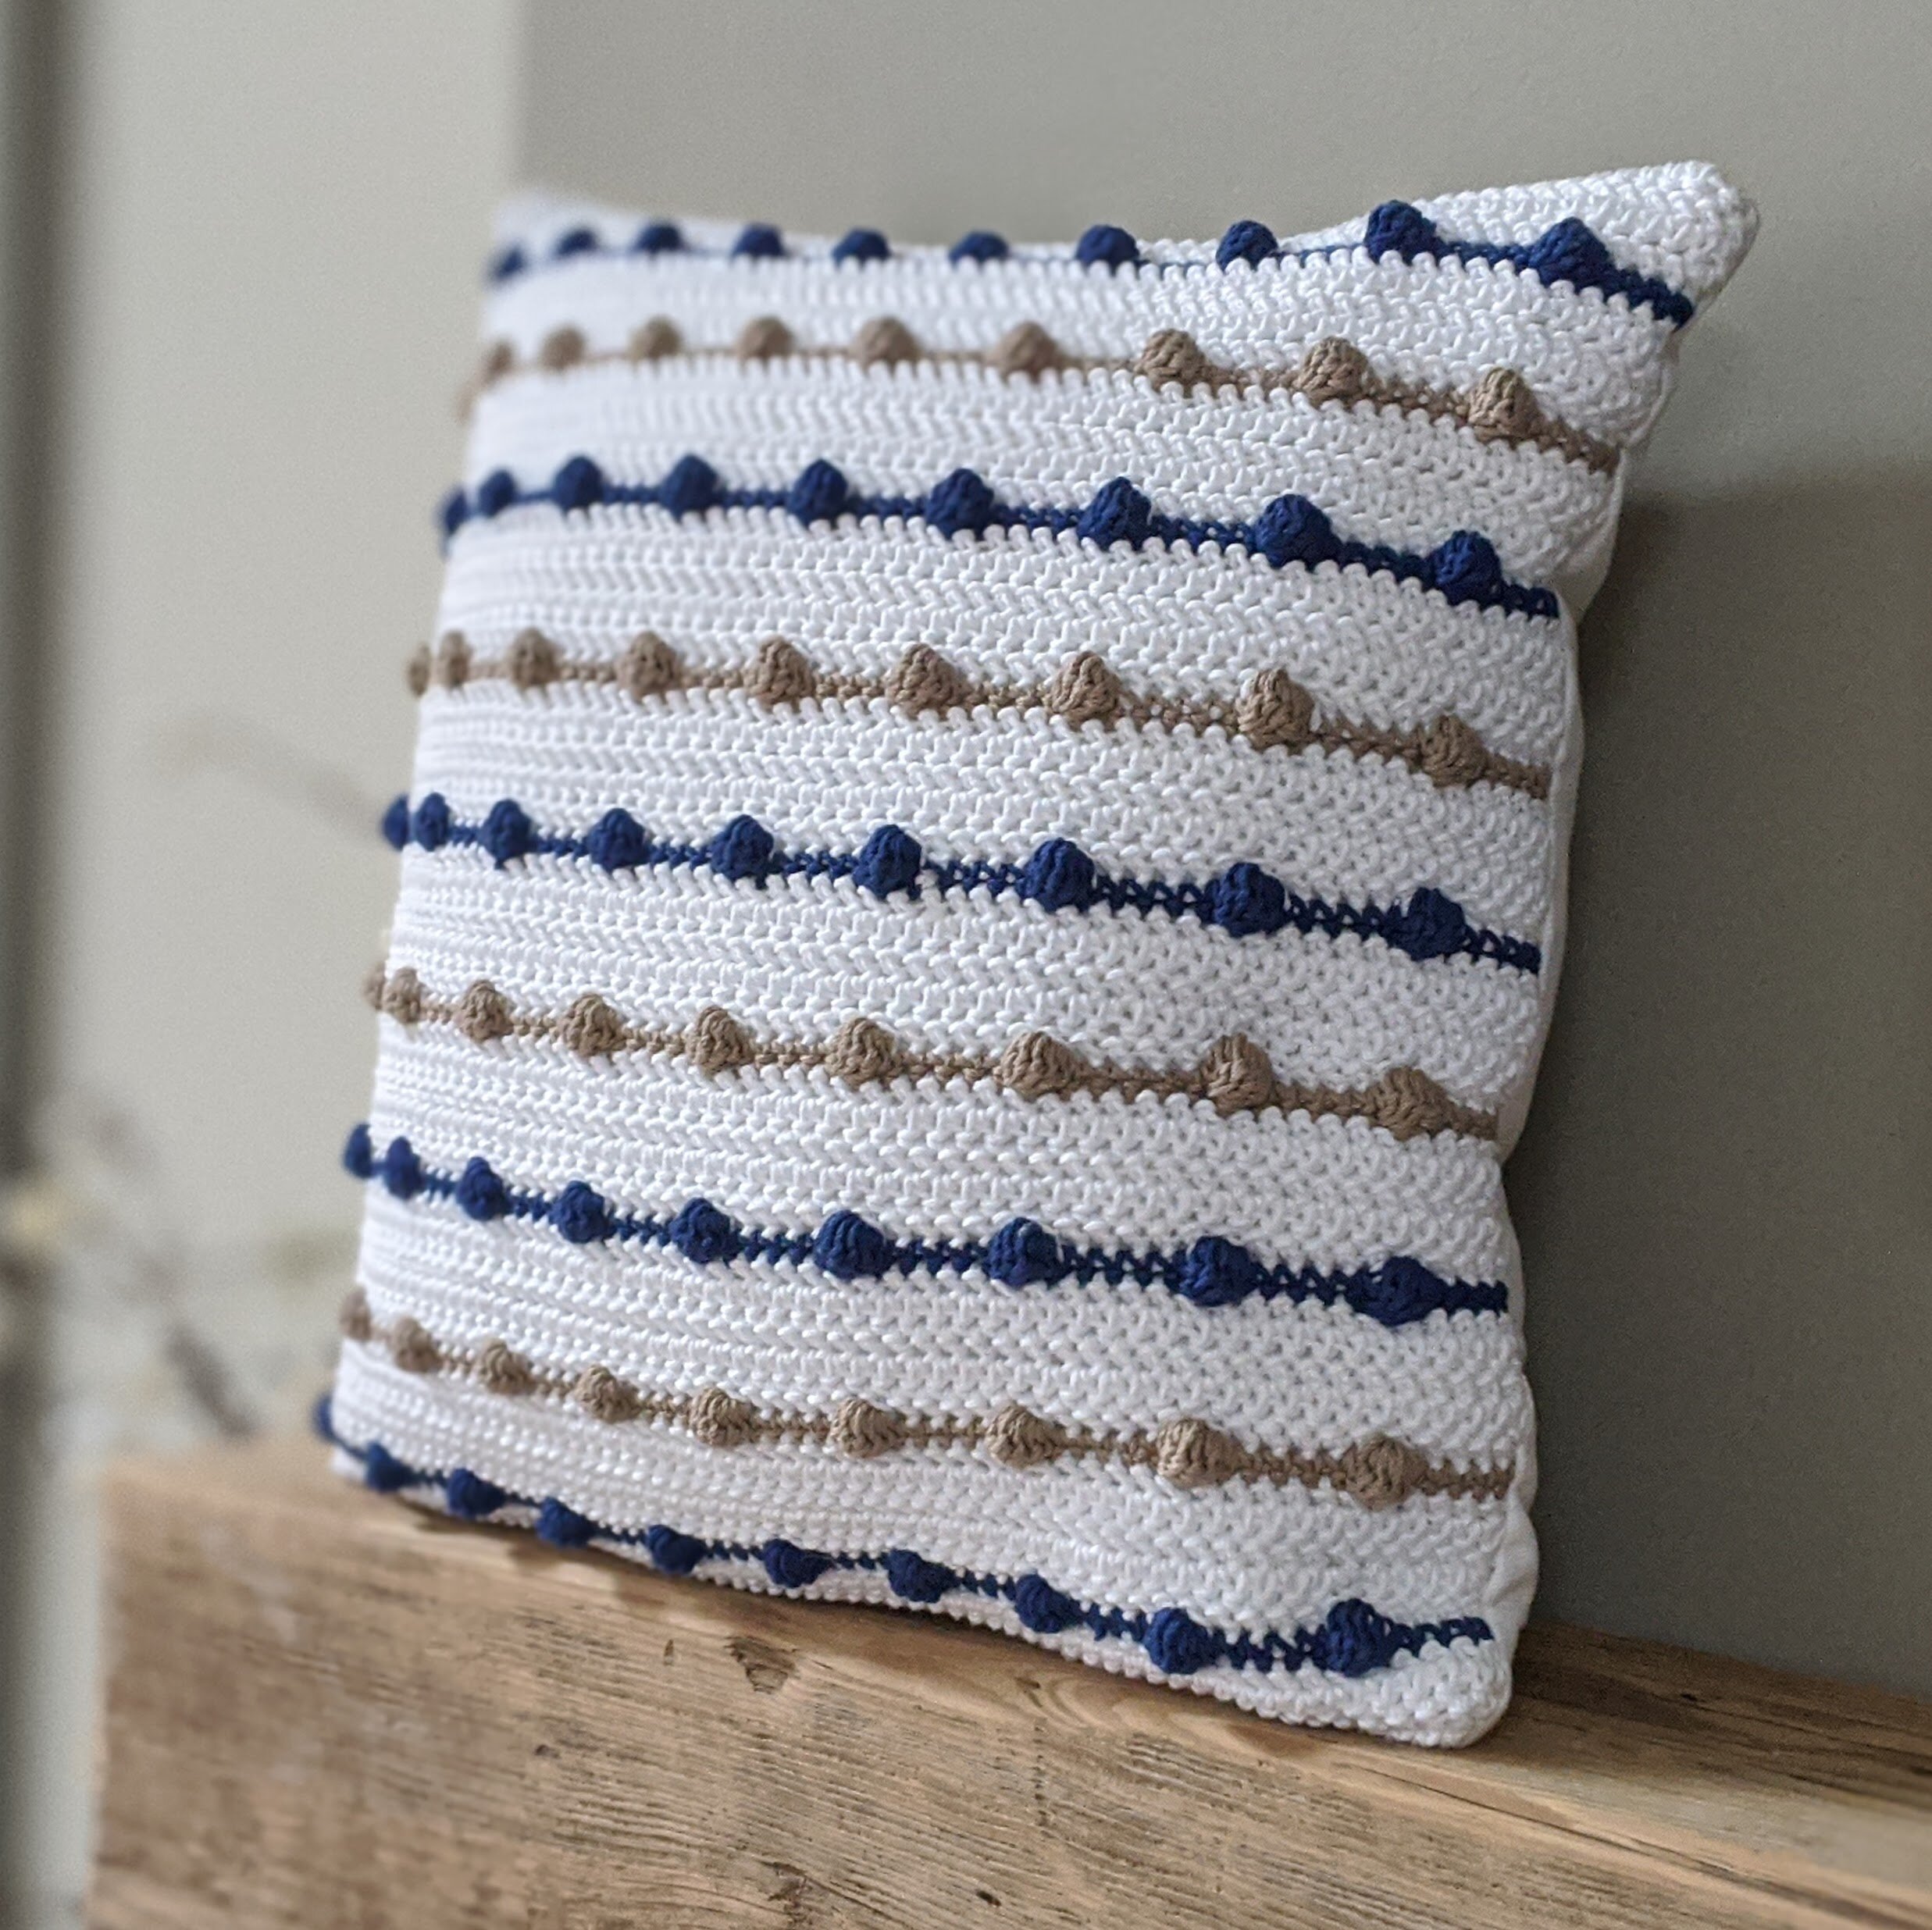
This Farmhouse-style crocheted pillow features alternating stripes of bobble stitches and herringbone half double crochet. It’s constructed using Lion brand 24/7 cotton yarn and size G crochet hook. I love how the color combo and texture make it feel classic and fun at the same time. The front features an easy pattern of alternating stripes of bobble stitches while the back can be finished in one of two ways a) using a simple herringbone HDC pattern, or b) using a piece of fabric and sewing it to the front of the pillow (my preferred option). I’ve included instructions for both versions of the back of the pillow below. I hope you enjoy this pattern!
Looking for a PDF of this pattern? You can find it on Etsy here.
SPECIFICATIONS
SIZES
Finished size of crocheted front of pillow before assembly: 16” x 16”
Finished pillow is ~15.5” x 15.5”, which accounts for 1/4” seam allowance.
GAUGE
1”x1” = 4 rows and 5 sts in herringbone half double crochet
MATERIALS
Hook: Size G crochet hook. This is my favorite crochet hook and yarn needle set I got from WooCrafts. The set is really affordable and comes with 9 different-sized crochet hooks, 8 yarn needles, stitch markers and a cute carrying case.
Yarn: ~300 yds total of Lion Brand 24/7 Cotton yarn in white (A), navy (B), and taupe (C) for front of pillow.
Pillow form: use an 18” x 18” pillow form for a firm pillow or a 16” x 16” pillow form for a less firm pillow.
Material for back of pillow: Either a) ~300 yds of the same yarn used for front of pillow if you plan to crochet the back of the pillow, or b) one piece of coordinating fabric cut into 16” x 16” square - I used a white denim fabric.
If sewing on the back of the pillow (finishing option b), you will also need a sewing machine, needle, thread and optional iron.
ABBREVIATIONS
Ch - Chain
SC - single crochet
YO - yarn over
HHDC - herringbone half double crochet; to complete this stitch - Yarn over, insert hook into next stitch, YO and draw through the stitch AND first loop on hook, YO again and draw through remaining loops on hook. Additional tutorial can be found here.
DC5tog Bobble - if you are unfamiliar with the bobble stitch you can find a good tutorial here
Other Tips
Switching yarn colors: there are many different techniques for switching yarn colors between rows. This is the technique I use: let’s say you are finishing row 5 with color A, and you want your next row to be in color B. On the last stitch of row 5, do not pull through final two loops, instead, switch to yarn color B, yo then pull through final two loops. Use this technique each time you switch row colors below.
INSTRUCTIONS
(A PDF of this pattern can be found on Etsy)
FRONT OF PILLOW
To start: Ch 67
Row 1: Hhdc in 2nd ch from hook and in each stitch across, ch1, turn (65 hhdcs)
Row 2-5: Hhdc in each stitch across, ch1, turn
Row 6: switch to Navy (b) yarn, SC 5, *dc5tog bobble, SC 5; repeat from * to end of row. On last stitch, do not pull through final two loops, instead, switch to white yarn, yo then pull through final two loops. Ch1, turn.
Row 7-11: Hhdc in each stitch across, ch1, turn
Row 12: switch to Tan yarn, SC 5, *dc5tog bobble, SC 5; repeat from * to end of row. On last stitch, do not pull through final two loops, instead, switch to white yarn, yo then pull through final two loops. Ch1, turn.
Row 13-17: Hhdc in each stitch across, ch1, turn
Row 18: switch to navy yarn, SC 5, *dc5tog bobble, SC 5; repeat from * to end of row. On last stitch, do not pull through final two loops, instead, switch to white yarn, yo then pull through final two loops. Ch1, turn.
Row 19-23: Hhdc in each stitch across, ch1, turn
Repeat rows 12-23 three more times. At the end of the final row, tie off and weave in all ends.

BACK OF PILLOW OPTION 1: CROCHETED BACK
Chain 67, turn
Row 1: HHDC in 2nd chain from the hook, HHDC in each chain across, Ch1, turn (65 HHDC sts)
Repeat row 1 over and over until the piece measures 16” x 16”
Fasten off and weave in ends.
Hold the two pieces together with stitches matching and wrong side facing inward. Join yarn with slip st in any edging st, slip st in each st all the way around, and insert pillow form before completing the seam. Fasten off.
BACK OF PILLOW OPTION 2: FABRIC BACK
If you haven’t already, cut out a piece of fabric 16” x 16”.
Block the front piece of your pillow to also measure 16” x 16”
Hold the two pieces together, wrong sides facing outward, and pin the two pieces of fabric together.

Using a sewing machine, sew the two pieces together using 1/4” seam, leaving a 4” gap in the middle of one of the edges. Remember to back stitch at the beginning and end of your seam to ensure your seam does not unravel.
Turn the pillow cover right side out and insert the pillow form. Close the remaining gap by stitching by hand.
***You may make and sell products from my patterns but if you do I ask that you link back to my post. Please do not copy and post this pattern and claim it as your own, or attempt to sell this pattern. Please do not re-publish photos as your own.