Crochet Spike-Stitch Coasters
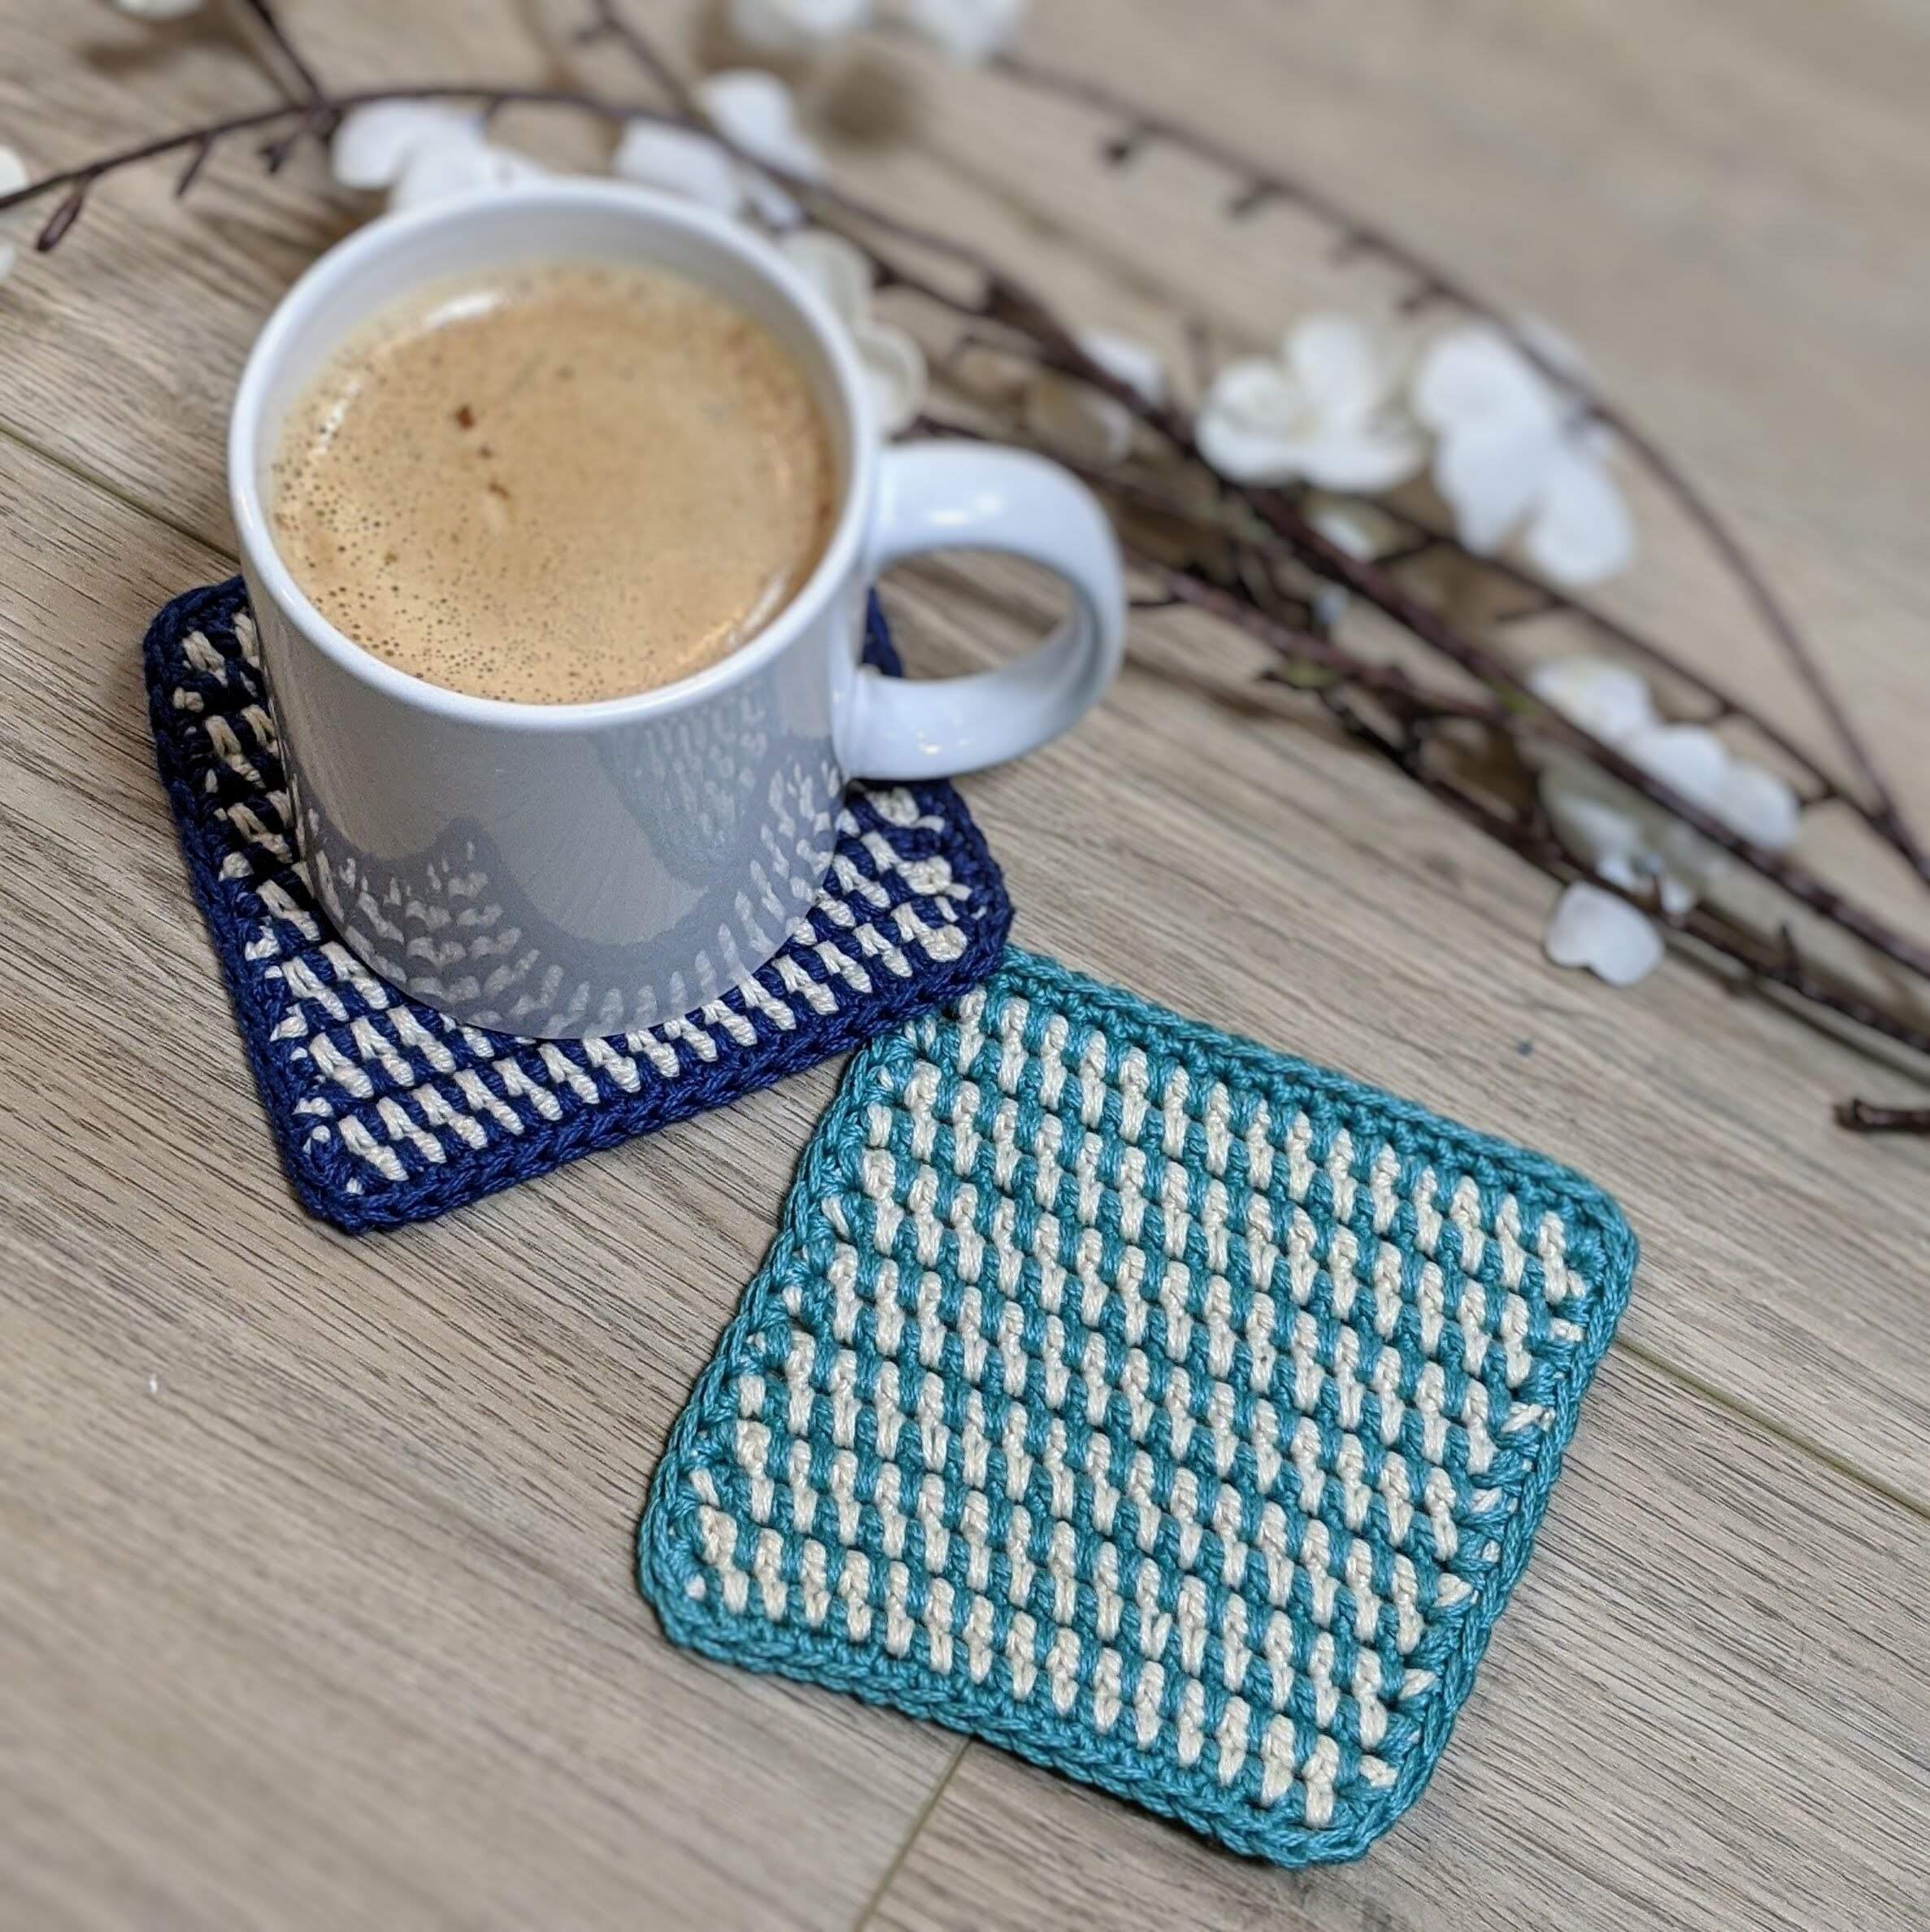
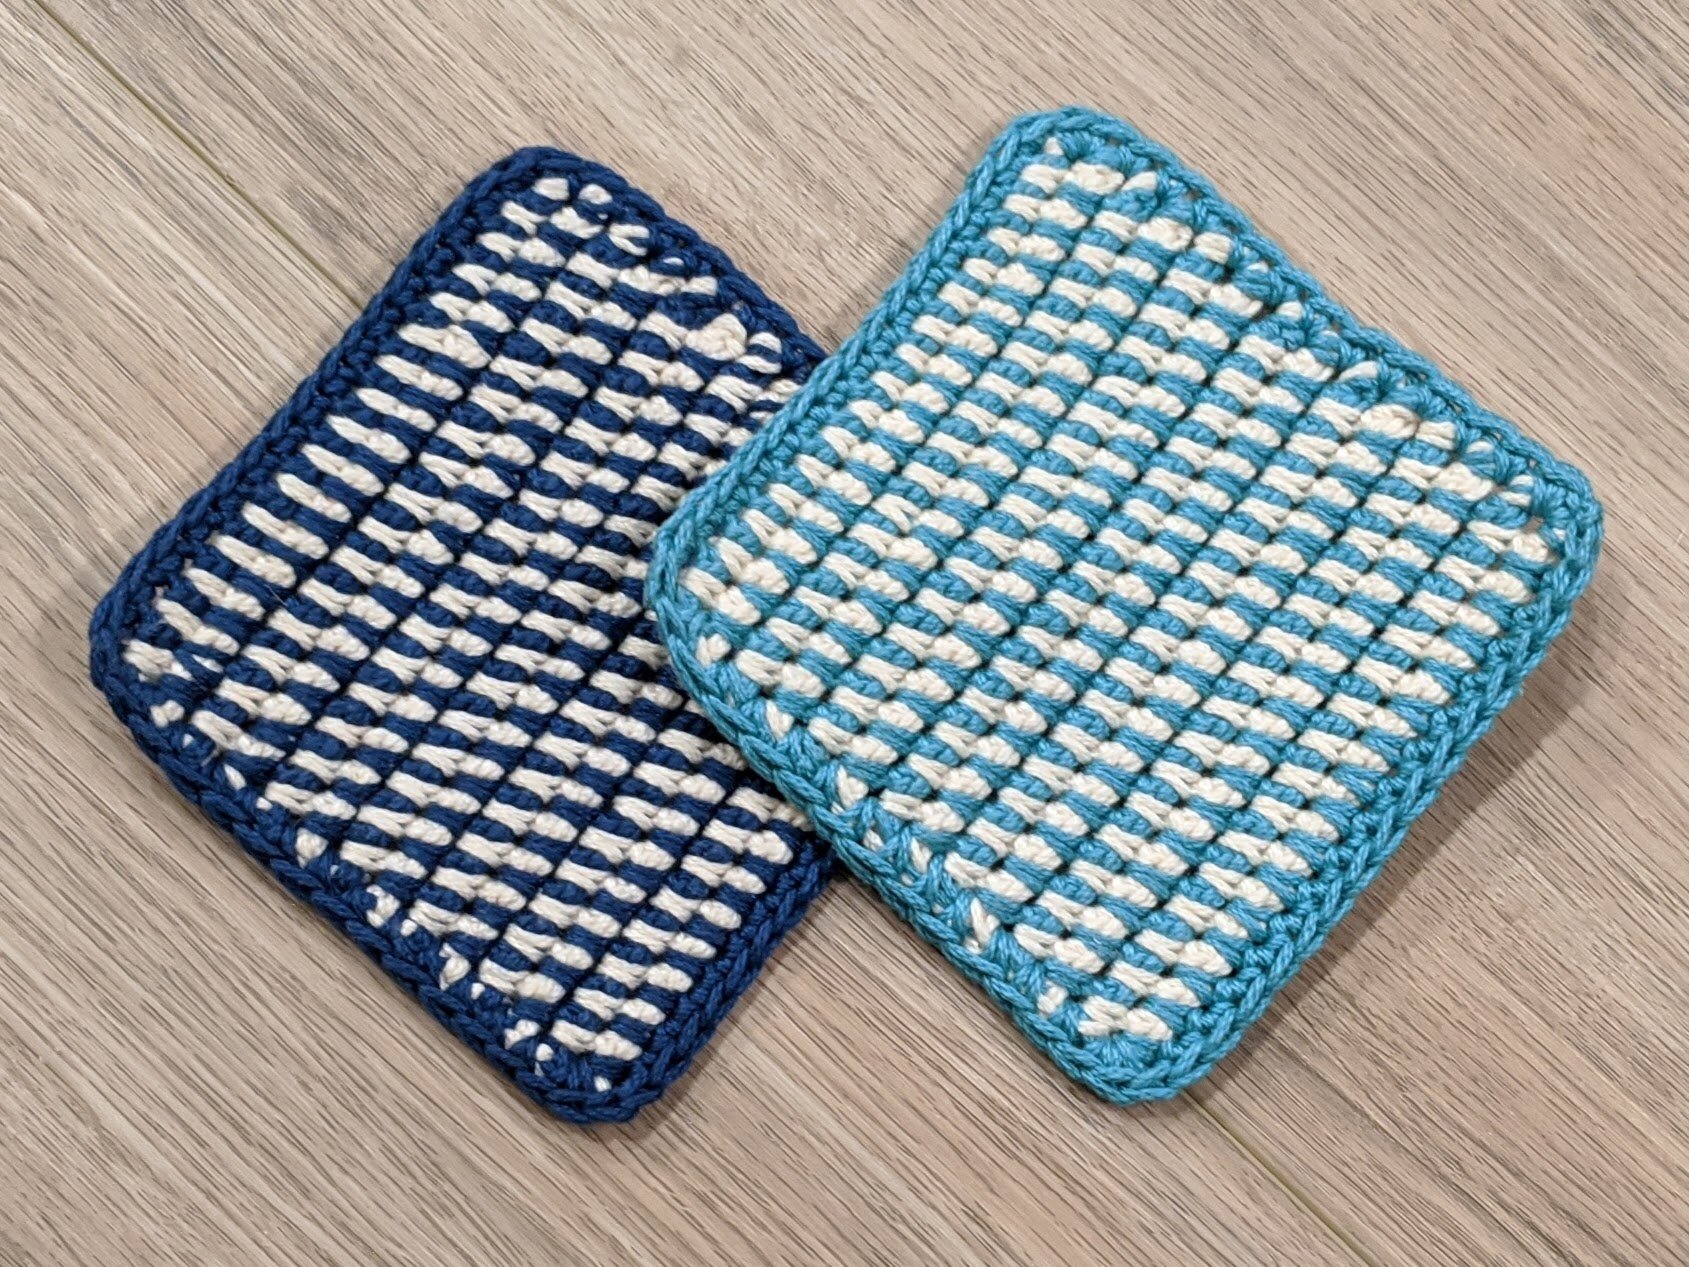
I recently discovered the joy that is the Spike Stitch, and since then, I can’t stop thinking of fun new projects to showcase this versatile design. The classic, woven look of the coasters are achieved by combining a basic single crochet stitch with a single crochet spike stitch, and can be easily completed in less than an hour by beginning and experienced crocheters alike.
I used 100% cotton yarn so the coasters are durable and completely machine washable. In addition, I stuck with a formula of a light background combined with a bright contrasting color to produce this beautiful design that looks like it would fit right in next to all the other farmhouse decor on the shelves at Pottery Barn or Magnolia Market.
I imagine these coasters would make great gifts for a housewarming present or hostess gift. They work perfectly in sets of 4, 6 or 8 and can be made in different complimentary colors to match the decor of any home. I’m currently working on a set of navy ones to give my mom as part of her Mother’s Day present.
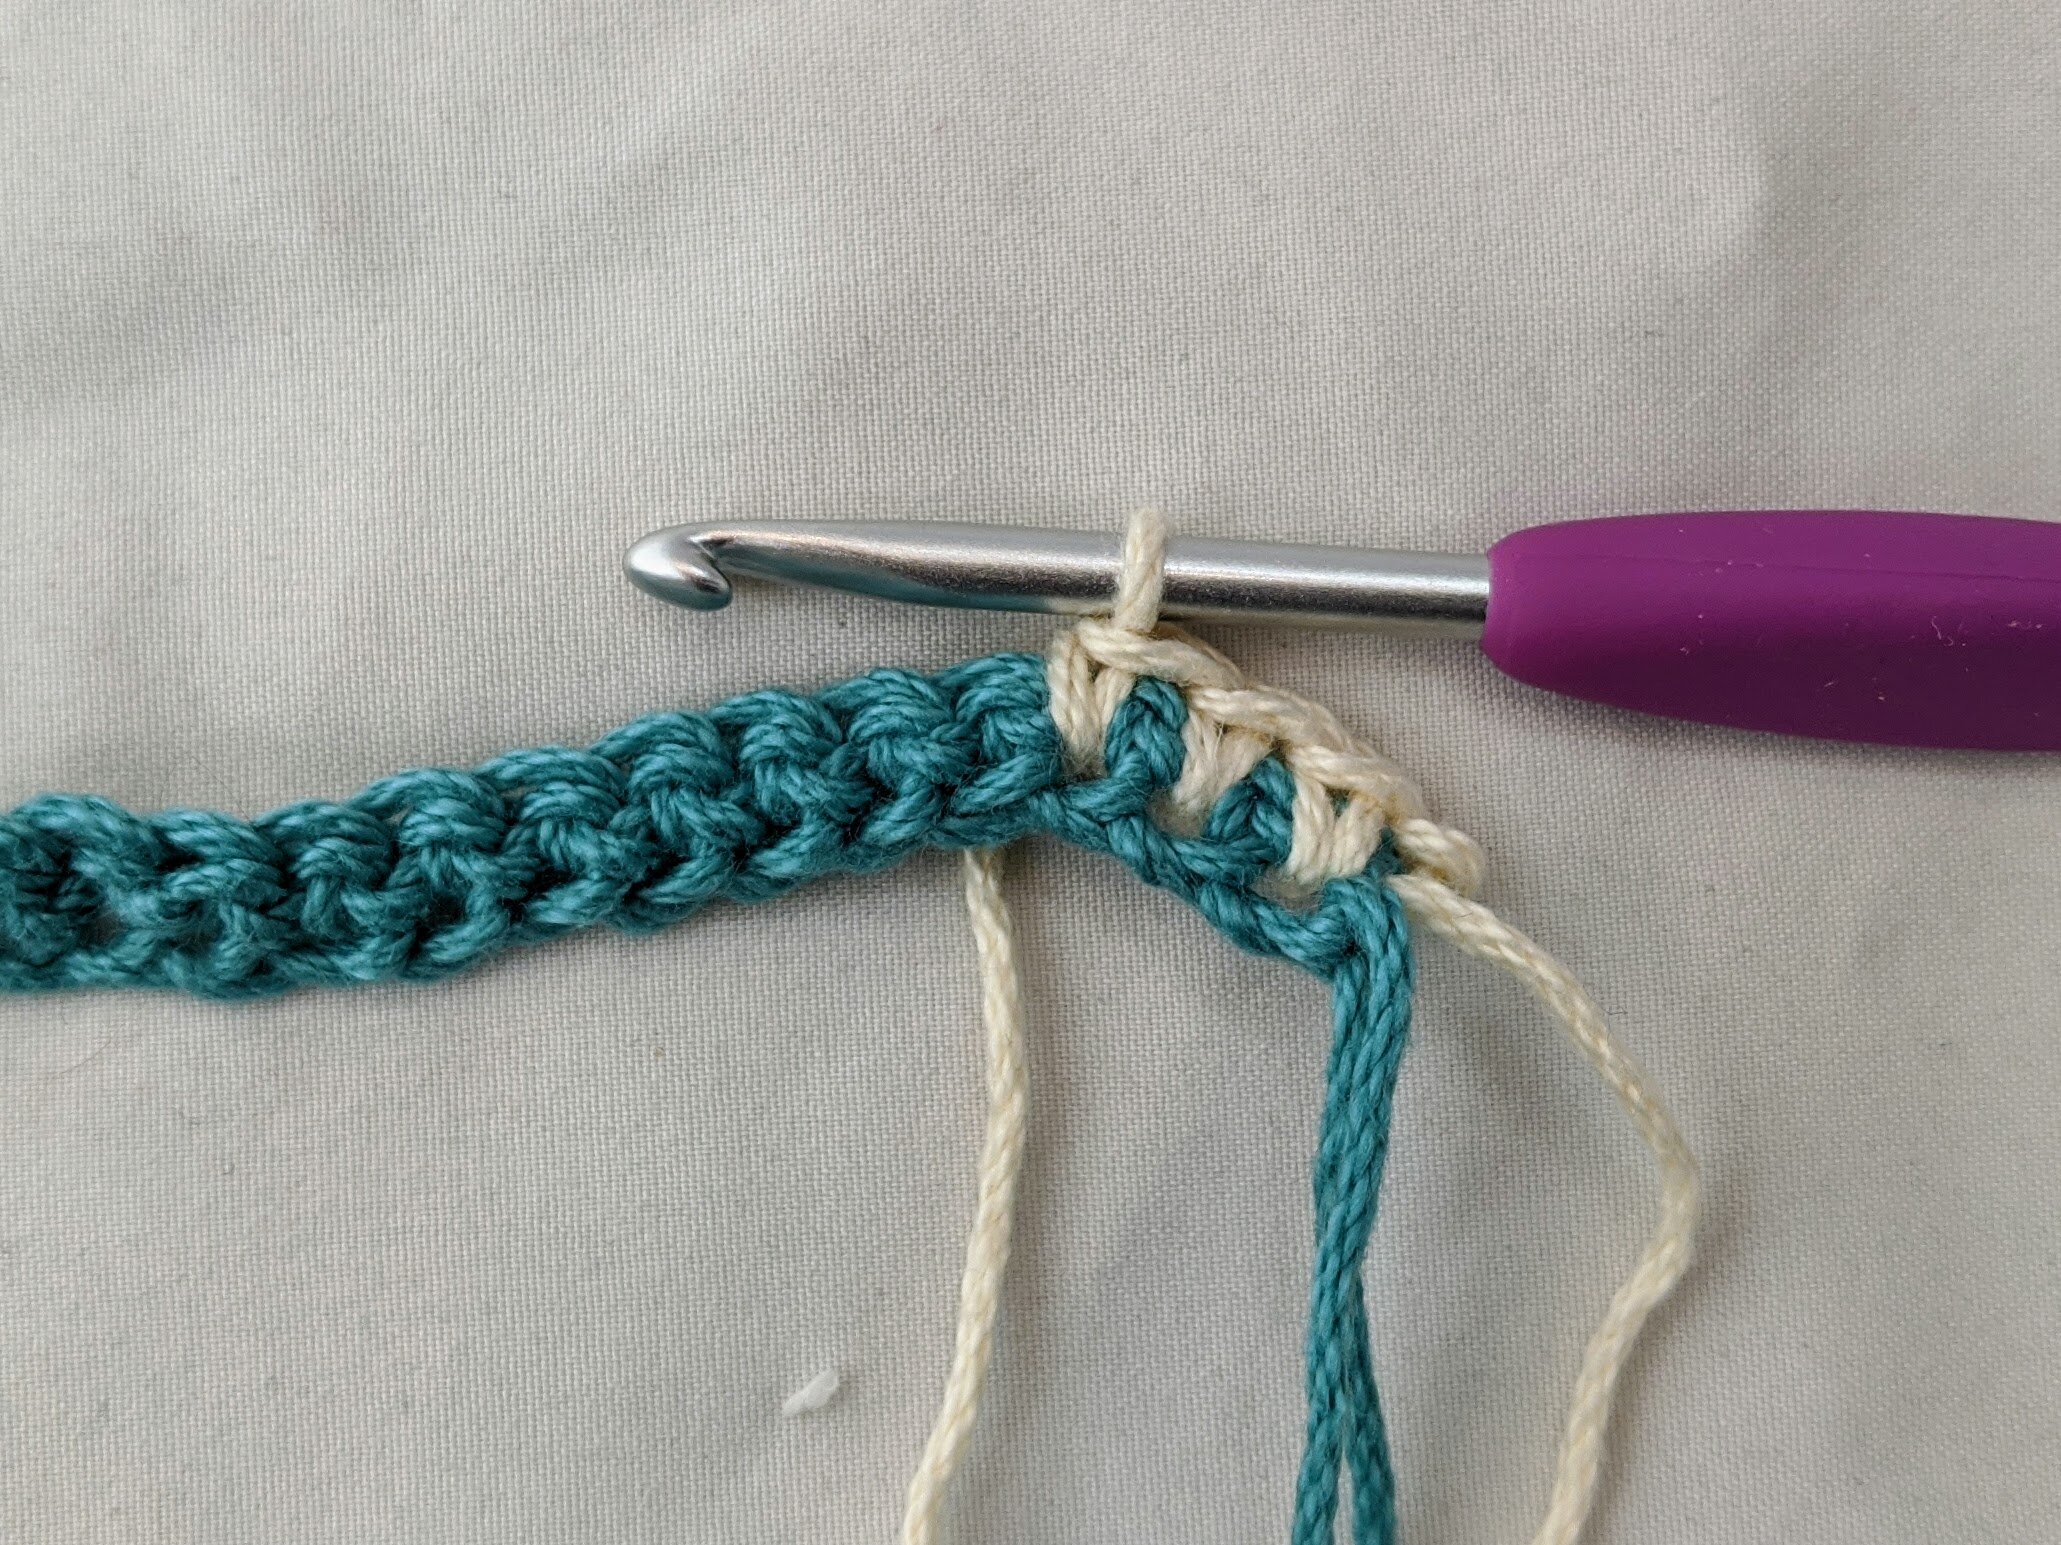
If you are unfamiliar with the spike stitch, this easy coaster project is the perfect way to learn. I have included photos of the spike stitch below, but you may also want to check out this tutorial as well for extra guidance.
Specifications
Materials
Crochet Hook: G/4.00mm - This is my favorite crochet hook and yarn needle set I got from WooCrafts. The set is really affordable and comes with 9 different-sized crochet hooks, 8 yarn needles, stitch markers and a cute carrying case.
Yarn: ~15 yds of medium weight yarn in Color A and 13 yds in Color B (~25-30 yds total) - I used Lion Brand 24/7 Cotton in Navy (color A) and Ecru (color B)
Yarn or tapestry needle
Scissors
Size
Finished coaster measures 4.5” x 4.5”
Gauge
Gauge is not needed for this pattern.
Abbreviations
Ch = chain
Sl st = slip stitch
SC = single crochet
Spike stitch = spike stitch; tutorial can be found here.
WS = wrong side
RS = right side
Additional Notes
Changing colors: on the last stitch of a row before you change colors, you will complete the final YO using the new color yarn. This method for changing colors at the end of a row and carrying up the yarn at the side of your work is illustrated in this tutorial. Use this method for changing colors throughout this pattern.
Instructions
To start, chain 17 in Color A
Row 1 (color A, WS): SC in 2nd chain from hook then SC across, ch 1, turn. (16 SC stitches)
Row 2 (color B, RS): SC spike stitch across, ch1, turn (see Figure 1 and 2 below)
Row 3 (color B): SC across, ch1, turn
Row 4 (color A): SC spike stitch across, ch1, turn (see Figure 3 below)
Figure 1
Figure 2
Figure 3
Repeat these 4 rows 6 more times. On the last row, do not ch1 and turn at the end of the row. Instead continue to SC around the entire perimeter of the square being sure to use 2 SC in each of the corner stitches.
Once you have completed the SC around the entire perimeter, sl st to join. Tie off and weave in any loose ends.
***You may make and sell products from my patterns but if you do I ask that you link back to my post. Please do not copy and post this pattern and claim it as your own, or attempt to sell this pattern. Please do not re-publish photos as your own.


