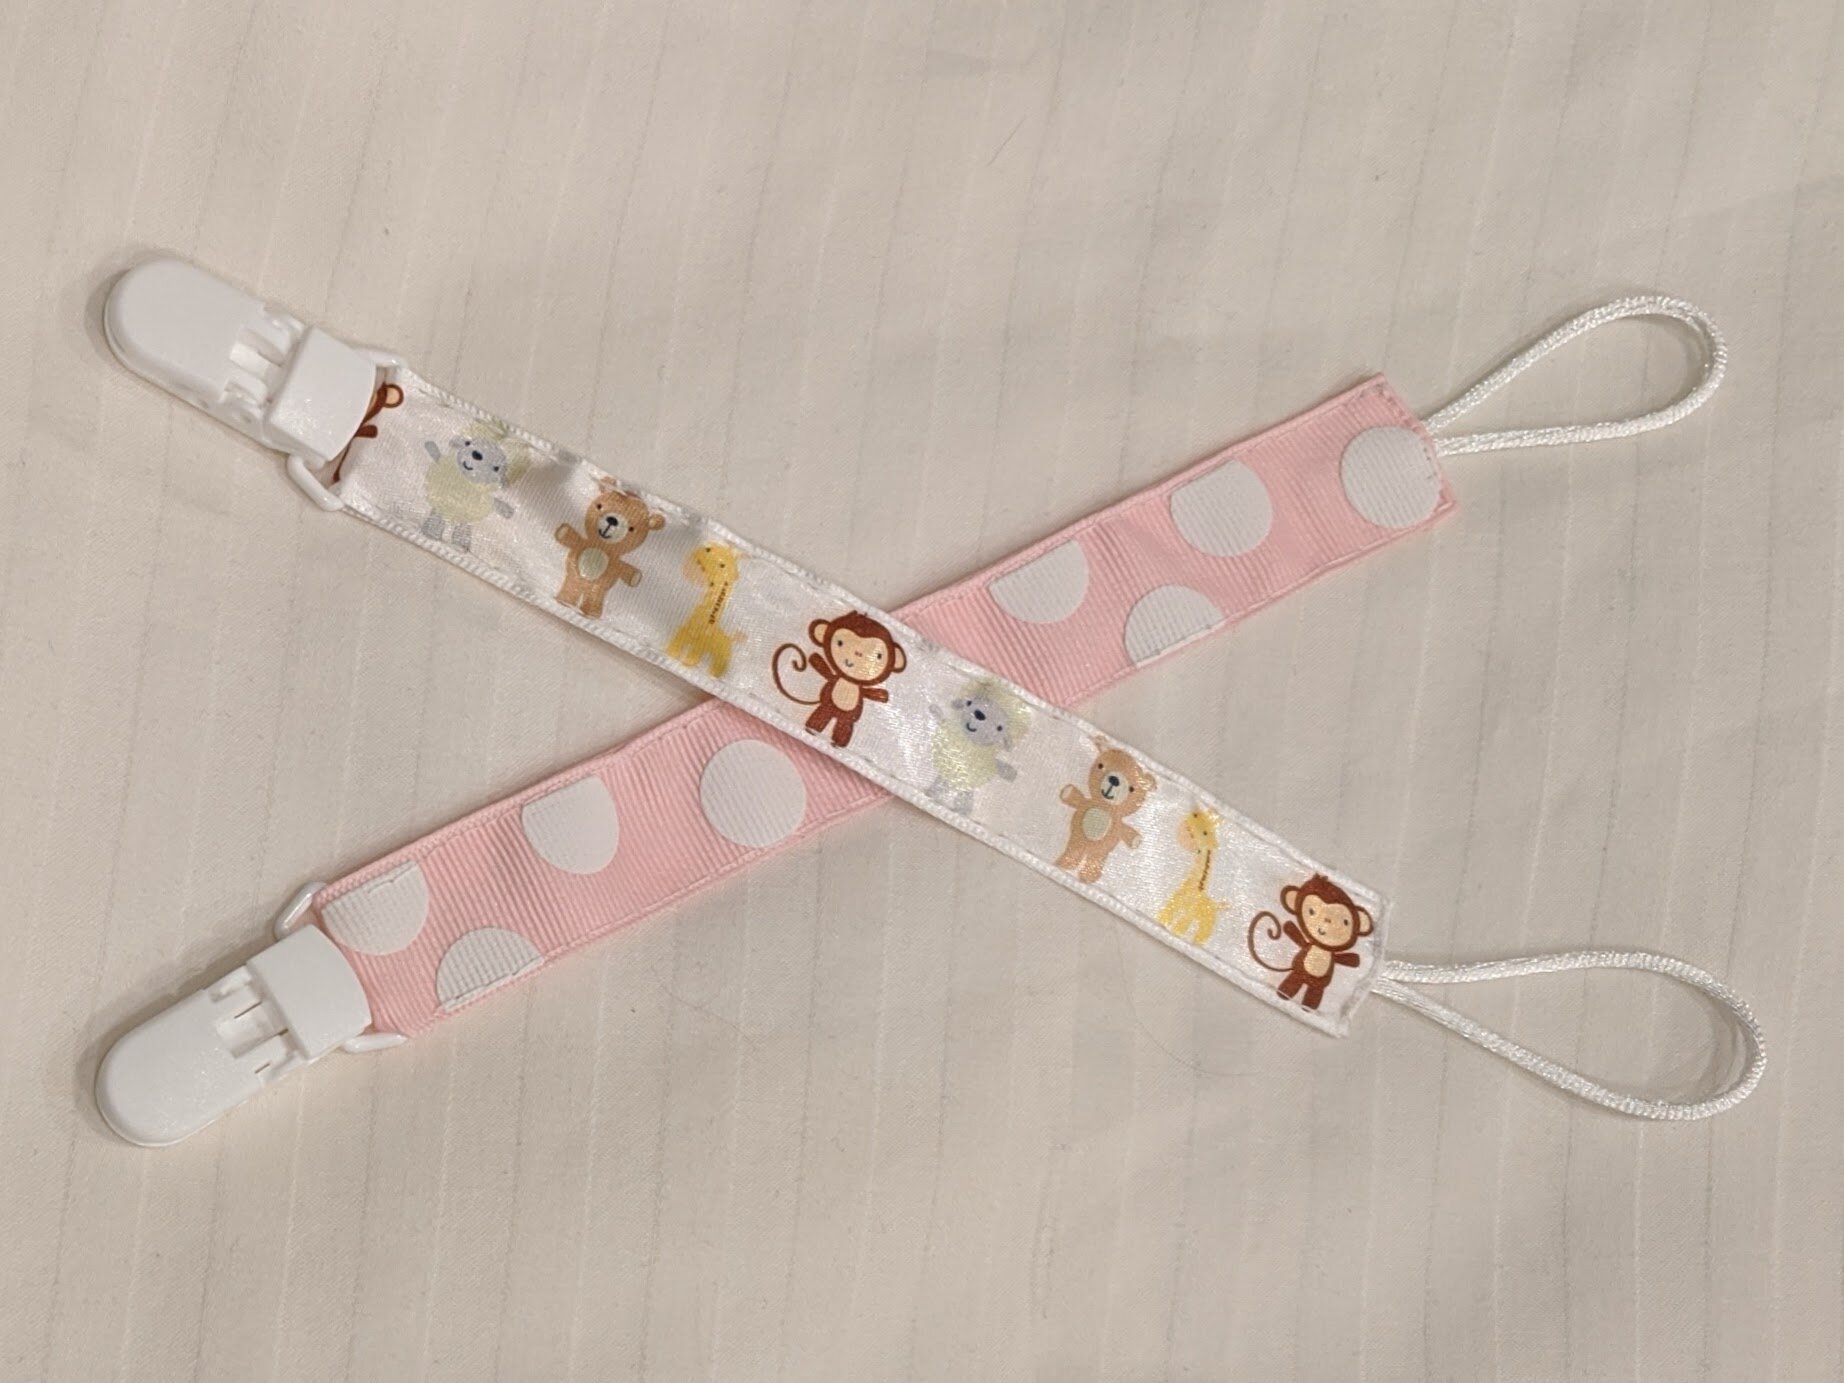
Hand-Sewn Ribbon Pacifier Leashes
I quickly learned the benefit of having a lot of pacifier leashes after my niece was born last May. These things can be a lifesaver for parents and caregivers, and can save you from endless hours of searching for lost pacies. My brother and sister-in-law can never get enough of these things, as they’re clipped on every car seat, stroller and hoodie. Unfortunately the pacifier leashes can be kind of expensive for what they are, so I experimented with a few different ways of making them at home. I’ve included instructions to my favorite method below. They make great gifts for new parents and for an extra special gift, I also like including a few pacifier leashes in with my blanket, burpie, bib bundles.
Materials
Pacifier clips: my sister-in-law prefers the plastic kind, so I purchased this pack from Amazon
Grosgrain or satin ribbon 3/4” thick: I had trouble finding 3/4” ribbon so I opted to use 7/8” instead and that also worked well. 14” of ribbon makes one pacifier leash.
Satin or nylon cord: 6” of cord makes 1 pacifier leash
Basic sewing supplies: Needle, thread, scissors
Iron (optional)
Instructions
If you haven’t already, cut a piece of your ribbon to measure 14” long then cut a piece of cord to measure 6” long.
Slip the ribbon through the pacifier clip so that you have an even amount of ribbon on either side.
Pin the ribbon together so it is held in place while you sew it together.
Starting at the clip end, stitch the two pieces of ribbon together along one edge until to reach about 1.5” from the cut ends of the ribbon. I used backstitching technique, but you can use whatever stitch you feel most comfortable using.
Fold the edges of each ribbon inward, about 3/4 inch, to hide the cut ends. Using your iron, press in place so that the ends stay tucked in.
Take your 6” of cord and fold in half to form a loop that is 3” long. Slip the tail ends of the loop between the two ends of the ribbon so that the bottom 1” on the cords are covered by the ribbon.
Hold the cord and the folded over ends of the ribbon in place using your thumb and forefinger of your non-dominant hand.
Using your dominant hand, resume stitching along the edge of the ribbon until you reach the folded ends. Then begin stitching across the top edge of the ribbon, making sure your needle goes through both sides of the cord as well as you make your way across the top edge.
When you reach the other side, continue stitching along the edge of the other side of the ribbon, making your way back towards the clip end.
Once you reach the clip, bind off and cut off remaining thread.
Trim any remaining loose threads, and congratulations, you’re done!
***You may make and sell products from my patterns but if you do I ask that you link back to my post. Please do not copy and post this pattern and claim it as your own, or attempt to sell this pattern. Please do not re-publish photos as your own.


