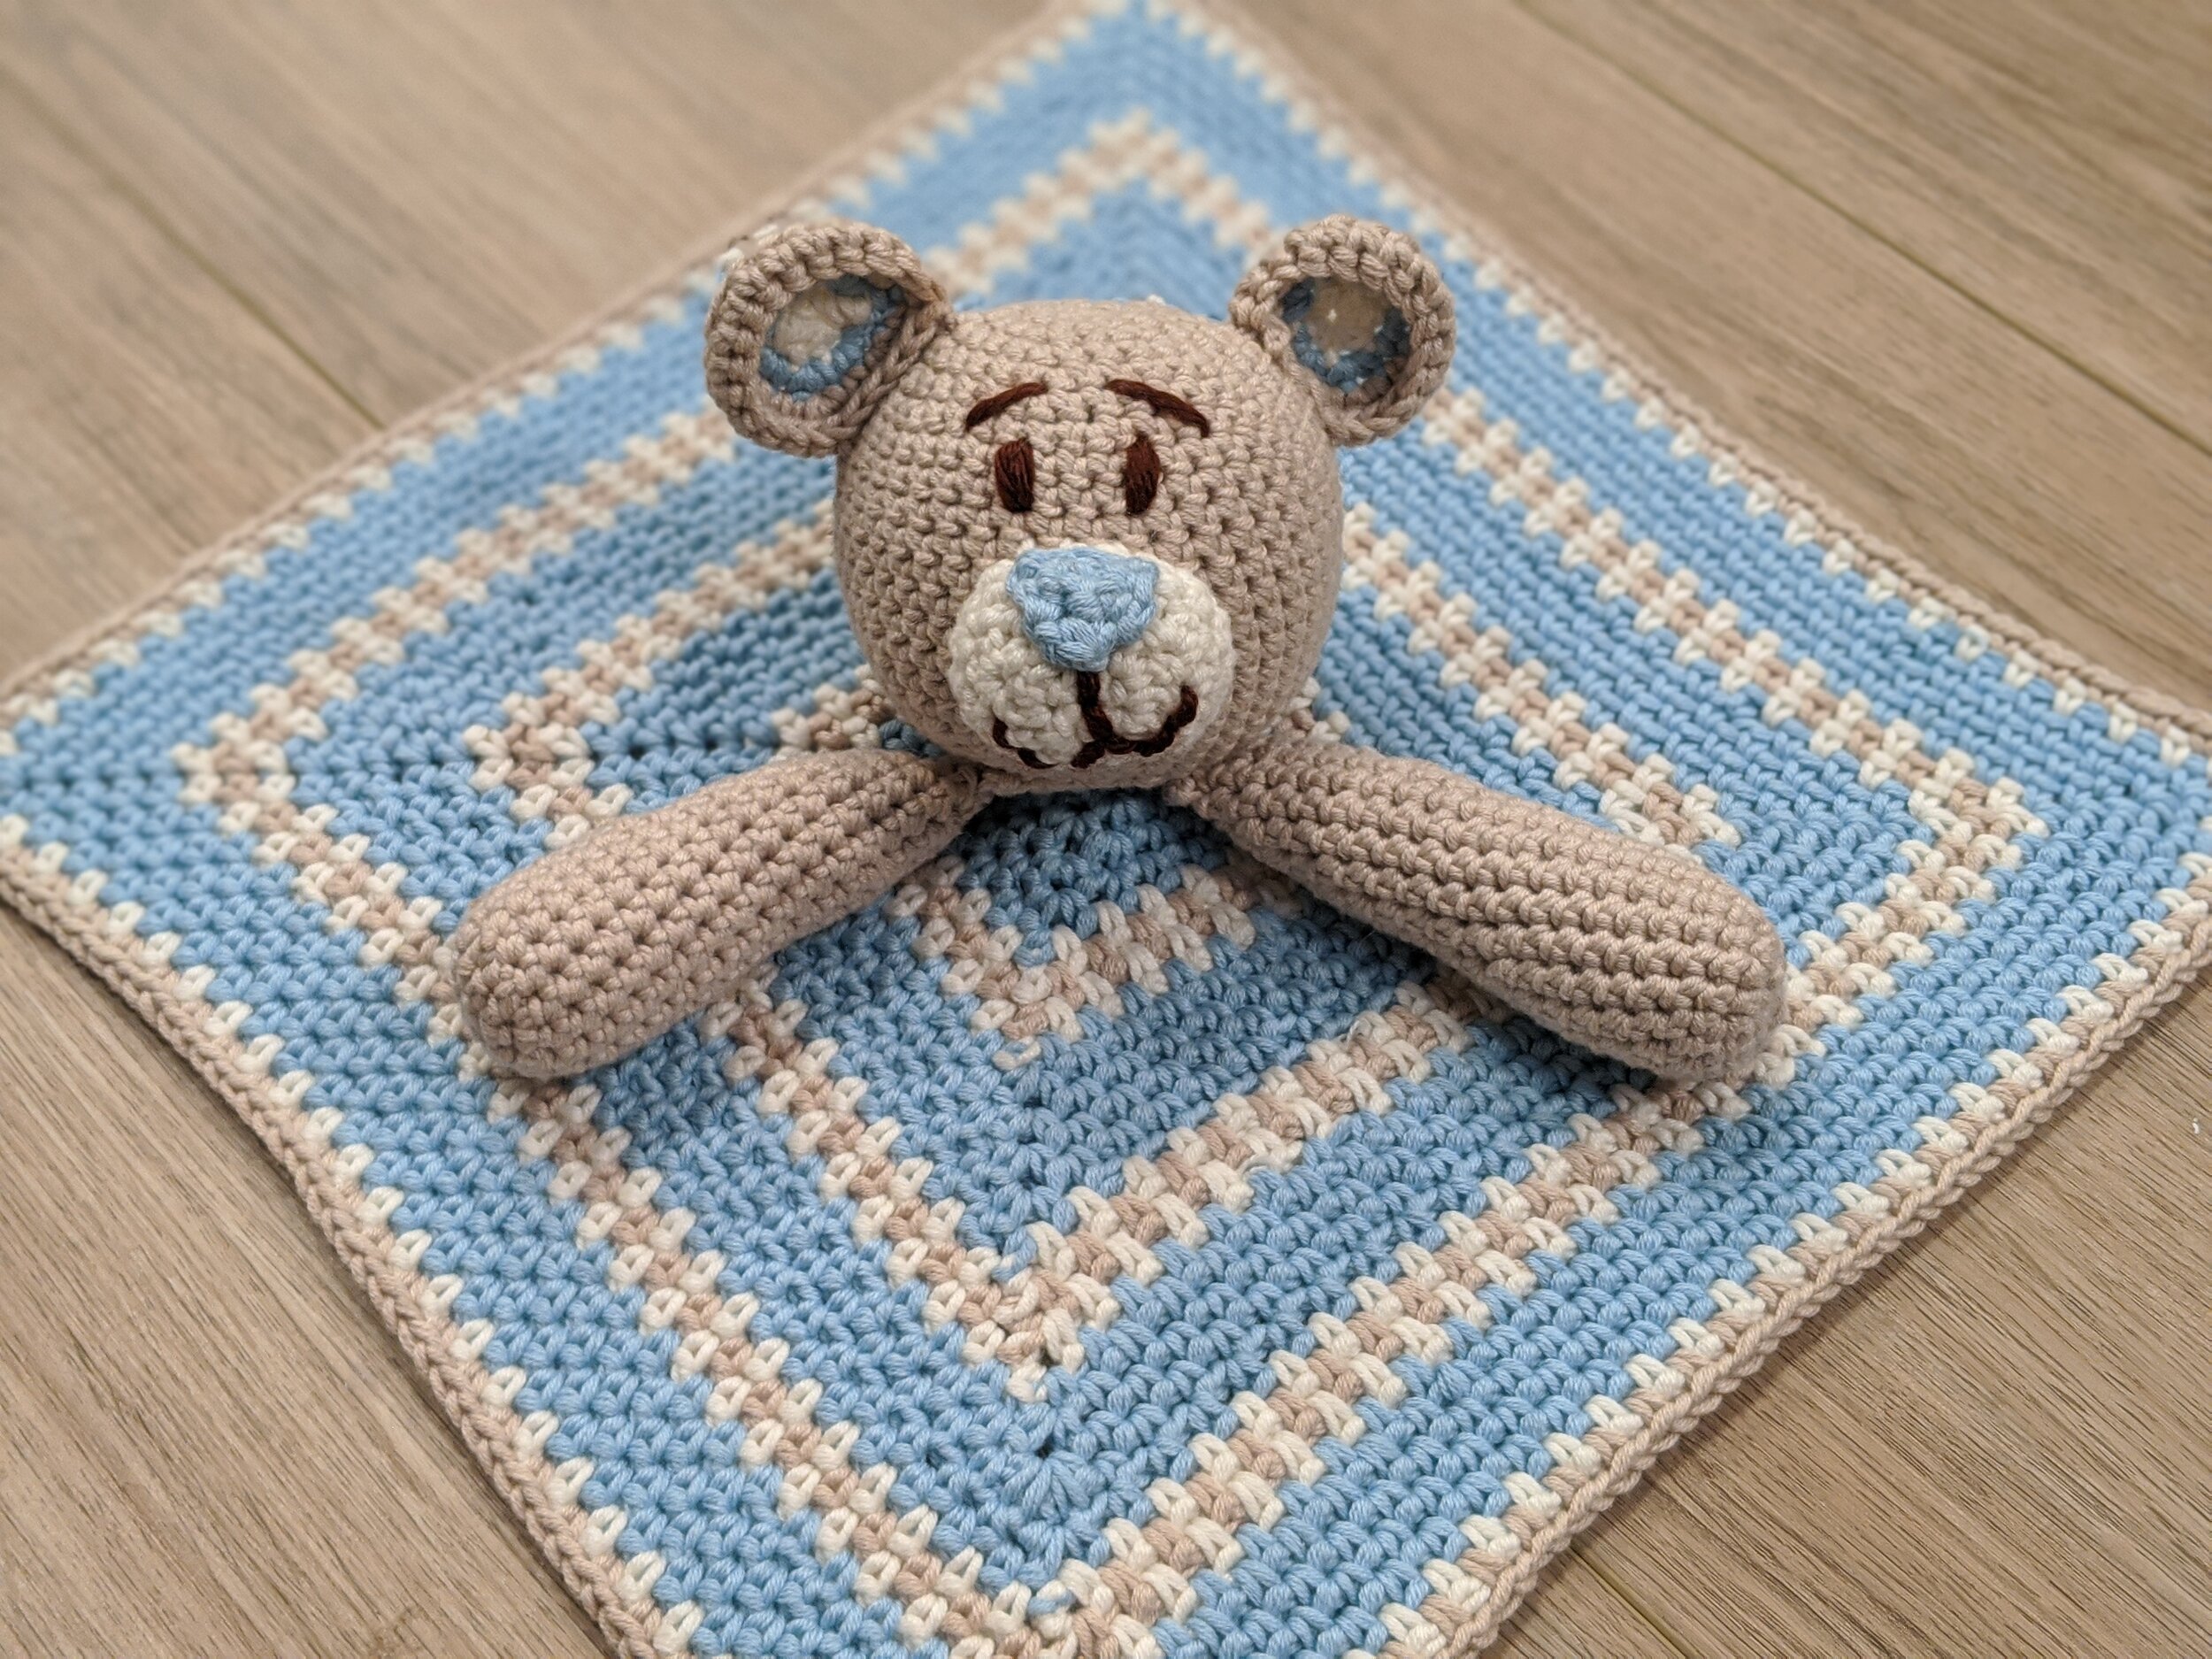
Teddy Bear Lovey
One of my dear friends is having her first baby this summer - a little boy - and I wanted to make her a gift that was both practical and fun. I decided on a teddy bear theme because who doesn’t love teddy bears! In May, I created the first part of the gift — an adorable crocheted teddy bear hat — and now I’m excited to share the pattern for the second part of the gift: a matching teddy bear lovey!
A handmade lovey — aka security blanket — can bring great comfort to a child of any age. I still remember the lovies that my brother and I had as kids - I think we slept with them until we were in our double digits!
This lovey is made with size G crochet hook using Bernat softee baby cotton yarn. The pattern is broken into two parts: 1) the bear, and 2) the blanket. The bear has a cute, happy face that matches the crochet teddy bear hat in this pattern, and the blanket is constructed using a simple square moss stitch. Because my friend is having a baby boy, I chose to use a blue, cream and tan color palette, but this pattern would work well in any color scheme. When selecting your yarn, be sure to choose something that is extra soft and machine washable.
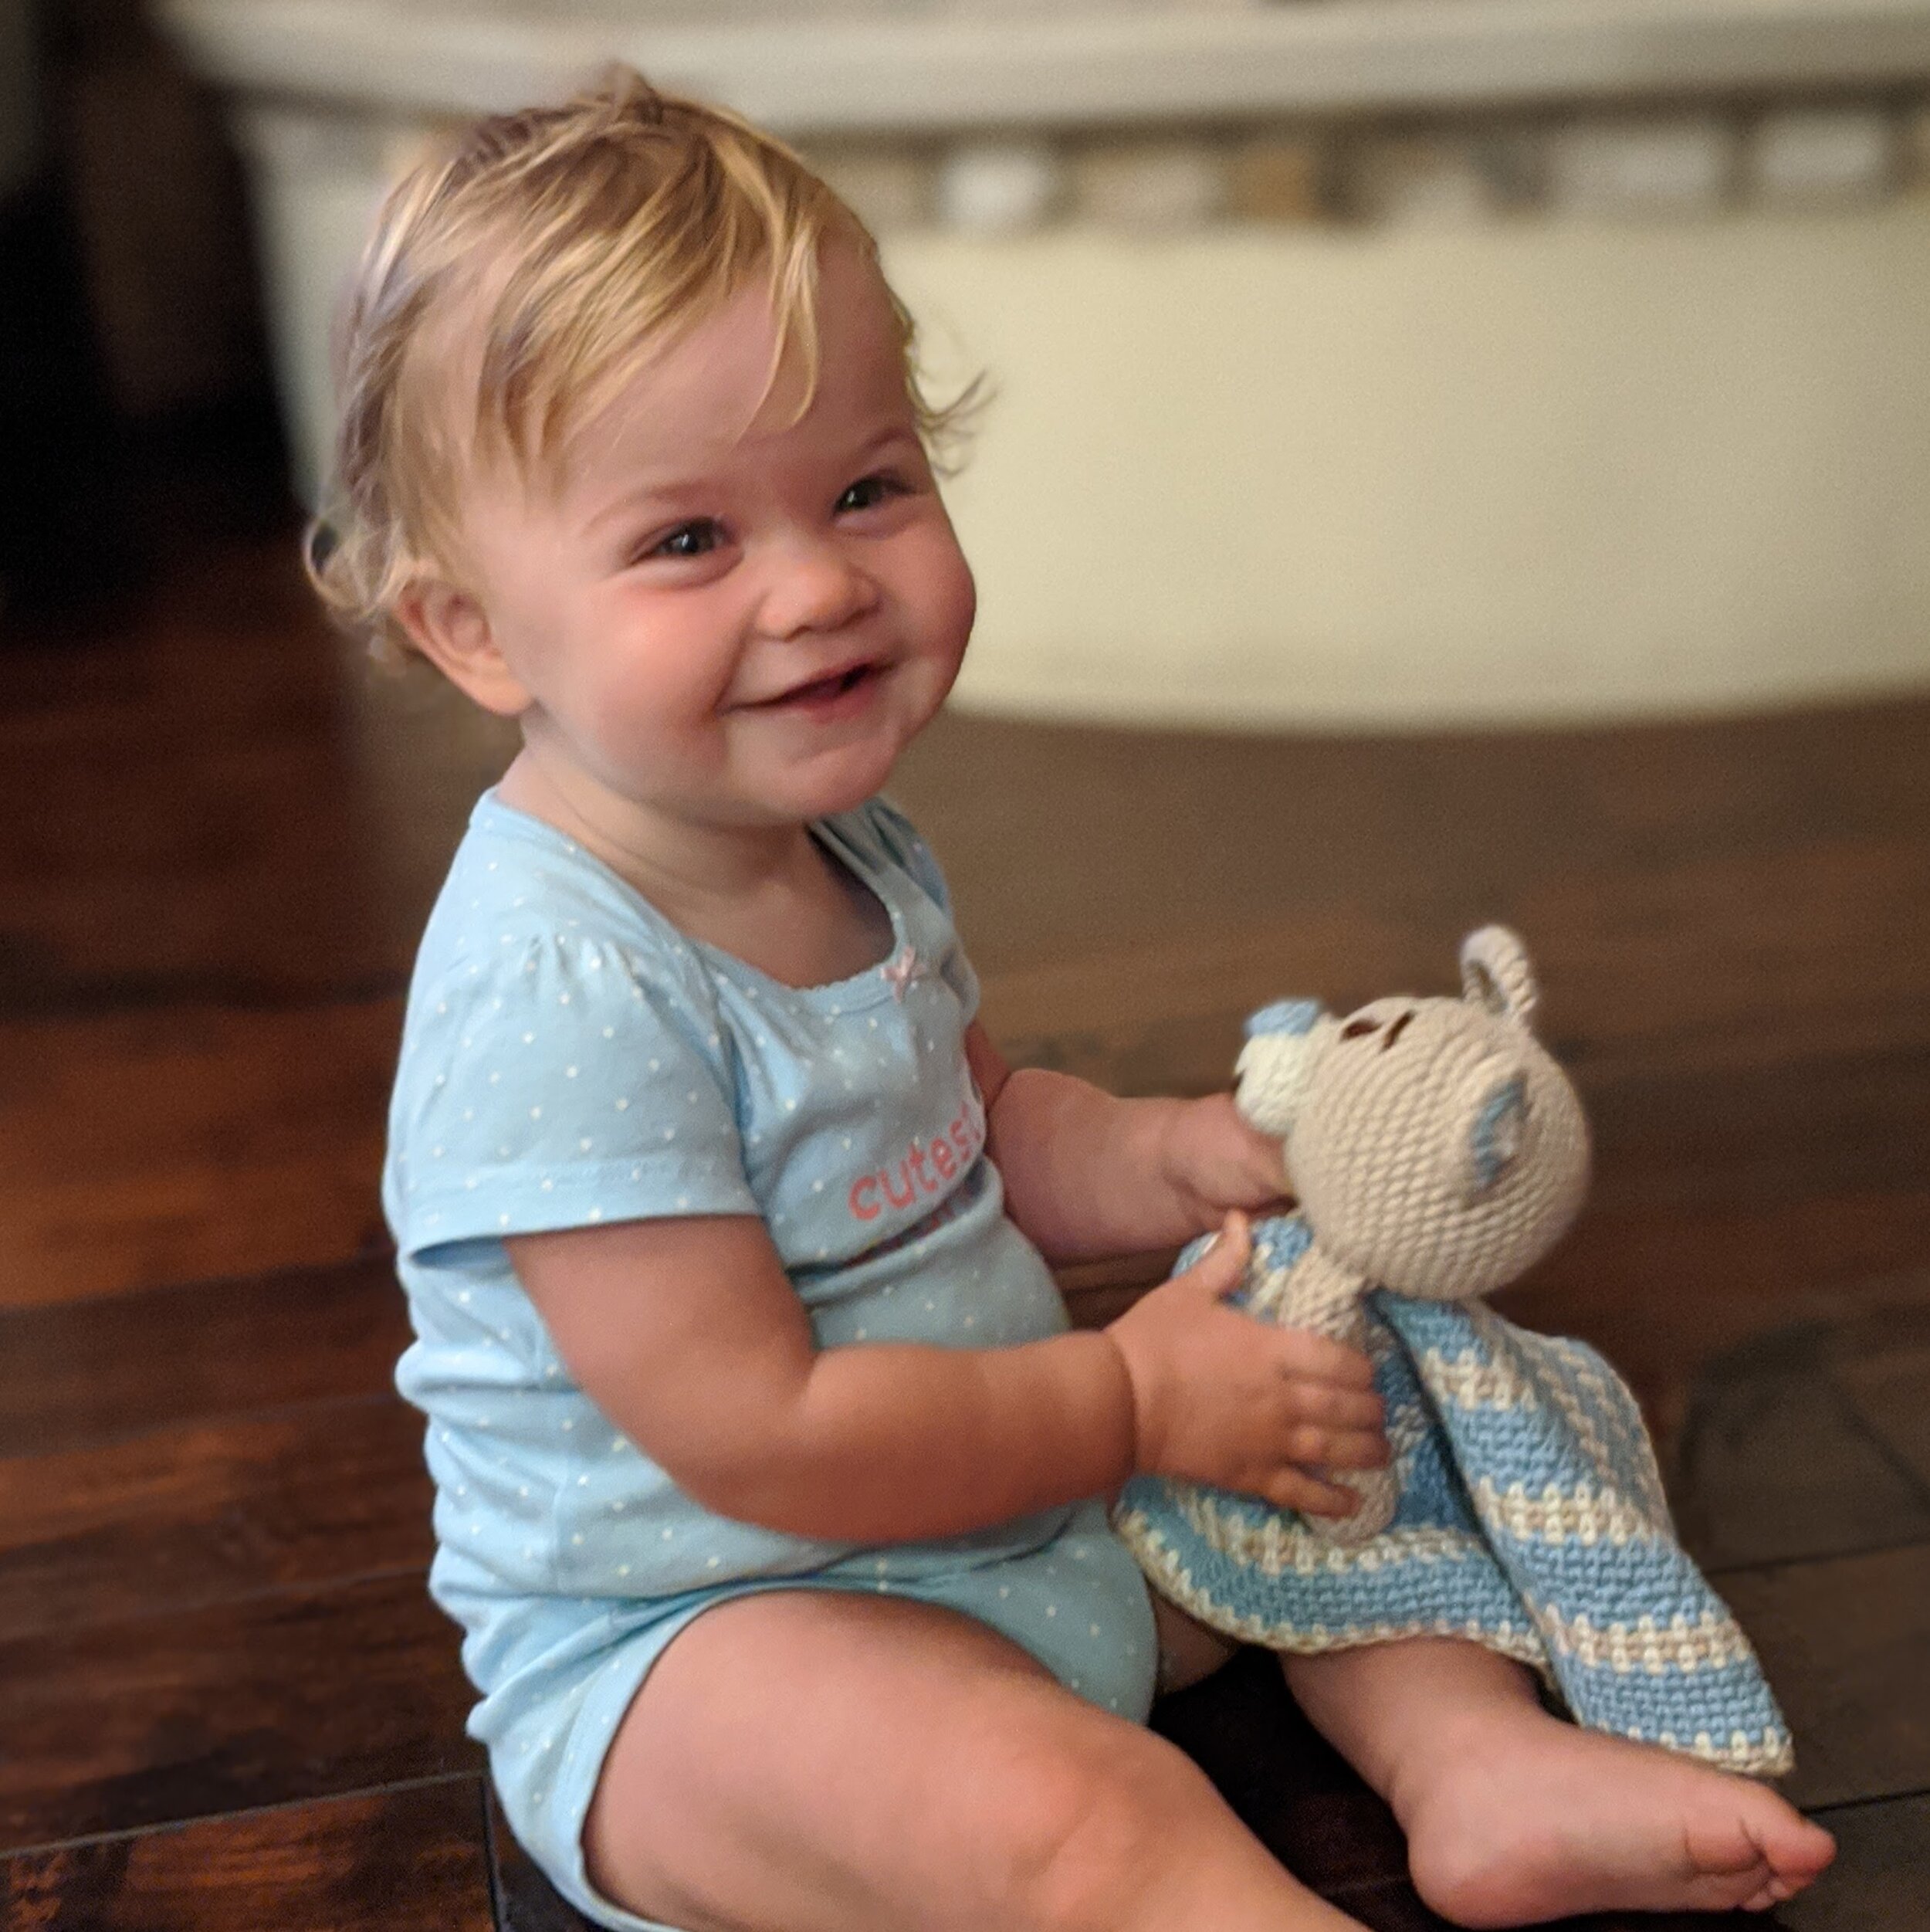
To make sure this lovey passed the kid test, I gave it to my niece and she absolutely loved it (see pictures in post). The arms of the bear were the perfect size for her little hands to grasp, and she was dragging it around with her all over the living room right away!
SPECIFICATIONS
SIZES
Finished lovey is 11” square and the teddy is ~4” high from the bottom of the head to the top of the ears.
GAUGE
2”x2” = 10 rows and 6 sts in moss st (note: I consider one SC+Ch1 to be one moss st)
MATERIALS
Hook: Size G crochet hook. This is my favorite crochet hook and yarn needle set I got from WooCrafts. The set is really affordable and comes with 9 different-sized crochet hooks, 8 yarn needles, stitch markers and a cute carrying case.
Yarn: ~150-200 yds (total) DK weight yarn in tan, cream, baby blue and scrap amounts of dark brown for the eyes and mouth. I used Bernat Softee Baby Cotton yarn.
Yarn or tapestry needle
Scissors
Stitch Marker (optional)
ABBREVIATIONS
Ch = chain
Sl st = slip stitch
SC = single crochet
SCD = single crochet decrease
HDC = half double crochet
DC = double crochet
MR = magic ring - find a great tutorial here
Special stitch: Moss stitch = SC + Chain 1. You then crochet in all of the chain 1 spaces from the previous row.
INSTRUCTIONS
Teddy Bear
Head
Rd 1: Mr, SC 6 in Mr
Rd 2: 2sc in each st around (12)
Rd 3: *2sc, SC* repeat (18)
Rd 4: *2sc, SC in next 2* repeat around (24)
Rd 5: *2sc, SC in next 3* repeat around (30)
Rd 6: *2sc, SC in next 4* repeat around (36)
Rd 7: *2sc, SC in next 5* repeat around (42)
Rd 8-17: SC in each around
Rd 18: *scd, SC in next 5* repeat around (36)
Rd 19: *scd, SC in next 4* repeat around (30)
Rd 20: *scd, SC in next 3* repeat around (24)
Rd 21: *scd, SC in next 2* repeat around; tie off and leave a long tail (18)
Nose
Rd 1: Mr, SC, 2 DC, SC, 2 DC all inside mr, sl to join, ch 1 (6)
Rd 2: *2 SC, 2 DC, 2 DC* repeat around, sl to join, ch 1 (12)
Rd 3: *SC, 2 SC, DC, 2 DC, DC, 2 DC* repeat around, sl to join, ch1 (18)
Rd 4: SC in each st around, sl to join, ch1
Rd 5: SC in each st around, sl to join, tie off, leave long tail to stitch onto head.
Blue Nose
Rd 1: Ch 5, SC in 2nd ch from the hook; SC across, ch1 turn (4 SC)
Rd 2: SC across, ch1, turn
Rd 3: Scd, scd, ch1, turn (2 SC)
Rd 4: Scd, tie off; leave long tail to stitch onto cream nose. (1 SC)
Ears (make 2)
Rd 1: Mr, SC, hdc, DC, DC, hdc, SC in Mr, sl to join, switch to blue yarn, ch1
Rd 2: 2 SC in each st around, sl to join, switch to tan yarn, ch 1
Rd 3: SC, 2 SC, *hdc, 2 hdc* repeat until 2 st remain, sc, 2 SC, sl to join, ch 1
Rd 4: SC in each around, sl to join, tie off, leave long tail to stitch onto head.
Arms (make 2)
Notes:
be sure to stuff the arms with filling as you go
arms are crocheted in continuous rounds; do not join between rounds
Rd 1: Mr, SC 6 in Mr (6 SC)
Rd 2: 2 SC in each around (12)
Rd 3: *2 SC, SC, SC repeat from * around (16)
Rd 4-9: SC in each st around
Rd 10: *scd, SC 6; repeat from* around (14)
Rd 11-14: SC around
Rd 15: *scd, SC 5; repeat from* around (12)
Rd 16-17: SC around
Rd 18: *scd, SC; repeat from* around (8)
Rd 19: SC around, sl st to join to the first SC in the round
Rd 20: pinch top closed so 4 St on one side and 4 on the other, then crochet closed by crocheting the two sides together; tie off; weave in ends leaving a long tail to attach arms to the head.

Assemble the bear
Stitch on the eyes: Using dark brown yarn and yarn needle, stitch the eyes and eyebrows in place. Eyes should be positioned at ~row 7 (top of the eye) to row 9 (bottom of the eye) about 4 sts apart. Eyebrows should be positioned one row above the eyes. Tie off on the inside of the head and cut yarn.
Stuff the head: Lightly stuff the head of the bear, leaving enough room so that you can still work a yarn needle in and out to sew on the ears and nose.
Stitch on the blue nose: Sew the blue nose onto the cream nose as pictured. Tie off on inside of cream nose and cut yarn.
Stitch on the mouth: Using dark brown yarn, stitch the mouth onto the cream nose as pictured. Tie off on the inside of the cream nose and cut remaining yarn.
Attach the cream nose: Using the long tail of cream yarn from the cream nose, stitch the cream nose onto the head. Stitch about 75% of the way around the cream nose, then pause and stuff the cream now using Poly-fil or other stuffing. Once nose is firm to the touch, stitch around the remaining 25% of the nose to close the gap.
Attach ears: Using long tail of the tan yarn and yarn needle, stitch the ears onto the head. The inside base of each ear should be positioned at ~ round 4 of the head.
Attach arms: Turn the head upside down, and attach the arms in the positions as shown in the photo. There are two ways you can attach the arms: 1) use the long tail of yarn from the arm and yarn needle and stitch the arm in place, or 2) using the long tail from the head, SC around the bottom of the of the head opening stopping at the points where you want to attach the arms and crochet the top of the arm together with the next 4 sts of the round. Continue crocheting around the head opening until you reach the position of the second arm, then crochet the top of that arm together with the next 4 sts of the round. Finally, SC in the remaining sts to complete the round. Tie off and weave in ends.
Stuff the head: Finishing stuffing the head until it is firm to the touch.

Lovey Blanket
Tips:
This lovey is worked in continuous rounds, so it can be easy to lose track of where one round begins. As such, I recommend placing a marker in the corner where your rounds begin.
When changing colors: work the rounds as listed below then when you get to the round where you want to change colors from yarn A to yarn color B, insert your hook into the first chain 2 space, yo and pull through the chain 2 (2 loops on your hook), now switch to yarn B, YO and pull through the 2 loops of yarn A that are on your hook. Continue working the rest of the round in color B. If this sounds confusing, check out this tutorial at timestamp 6:45, which will demonstrate the technique.
Rd 1: Using blue yarn, MR, chain 1 and make a SC + chain 2 + SC + chain 2 + SC + chain 2 + SC + chain 2 + SC
Pull tight but do not join
Rd 2: Now working in the first chain 2 space, SC + chain 2 + SC, chain 1, in the next chain 2 space, SC + chain 2 + SC, chain 1, repeat in the last two chain 2 spaces, do not join.
Rd 3: Working in first chain 2 space (these are your corners), SC + chain 2 + SC, chain 1, SC + chain 1 in the chain 1 space, SC + chain 2 + SC in the next chain 2 corner space, chain 1, SC + chain 1 in the chain 1 space, repeat around, do not join.
Rd 4: SC + chain 2 + SC in the first corner, chain 1, SC + chain 1 in each of the chain 1 spaces until you reach next corner, SC + chain 2 + SC in next corner, chain 1, repeat around, do not join.
Continue pattern working in continuous rounds until it’s as large as you’d like. You can make the lovey using any color pattern you want. For my lovey, I used the following colors:
Rd 1-6: blue
Rd 7: cream
Rd 8: tan
Rd 9: cream
Rd 10-14: blue
Rd 15: cream
Rd 16: tan
Repeat rounds 9-16 two more times (32 rounds total).
When you are ready to fasten off, you will want to end in a corner. Slip stitch to join your yarn in any corner. Tie off and weave in ends.
Finishing
As the final step, you will attach the teddy bear to the lovey blanket. To do this, select the color yarn that matches the center of your lovey blanket - for my lovey, this is blue yarn. Using the blue yarn and a yarn needle, stitch around the opening of the head onto the blanket. Tie off and weave in ends.

***You may make and sell products from my patterns but if you do I ask that you link back to my post. Please do not copy and post this pattern and claim it as your own, or attempt to sell this pattern. Please do not re-publish photos as your own.