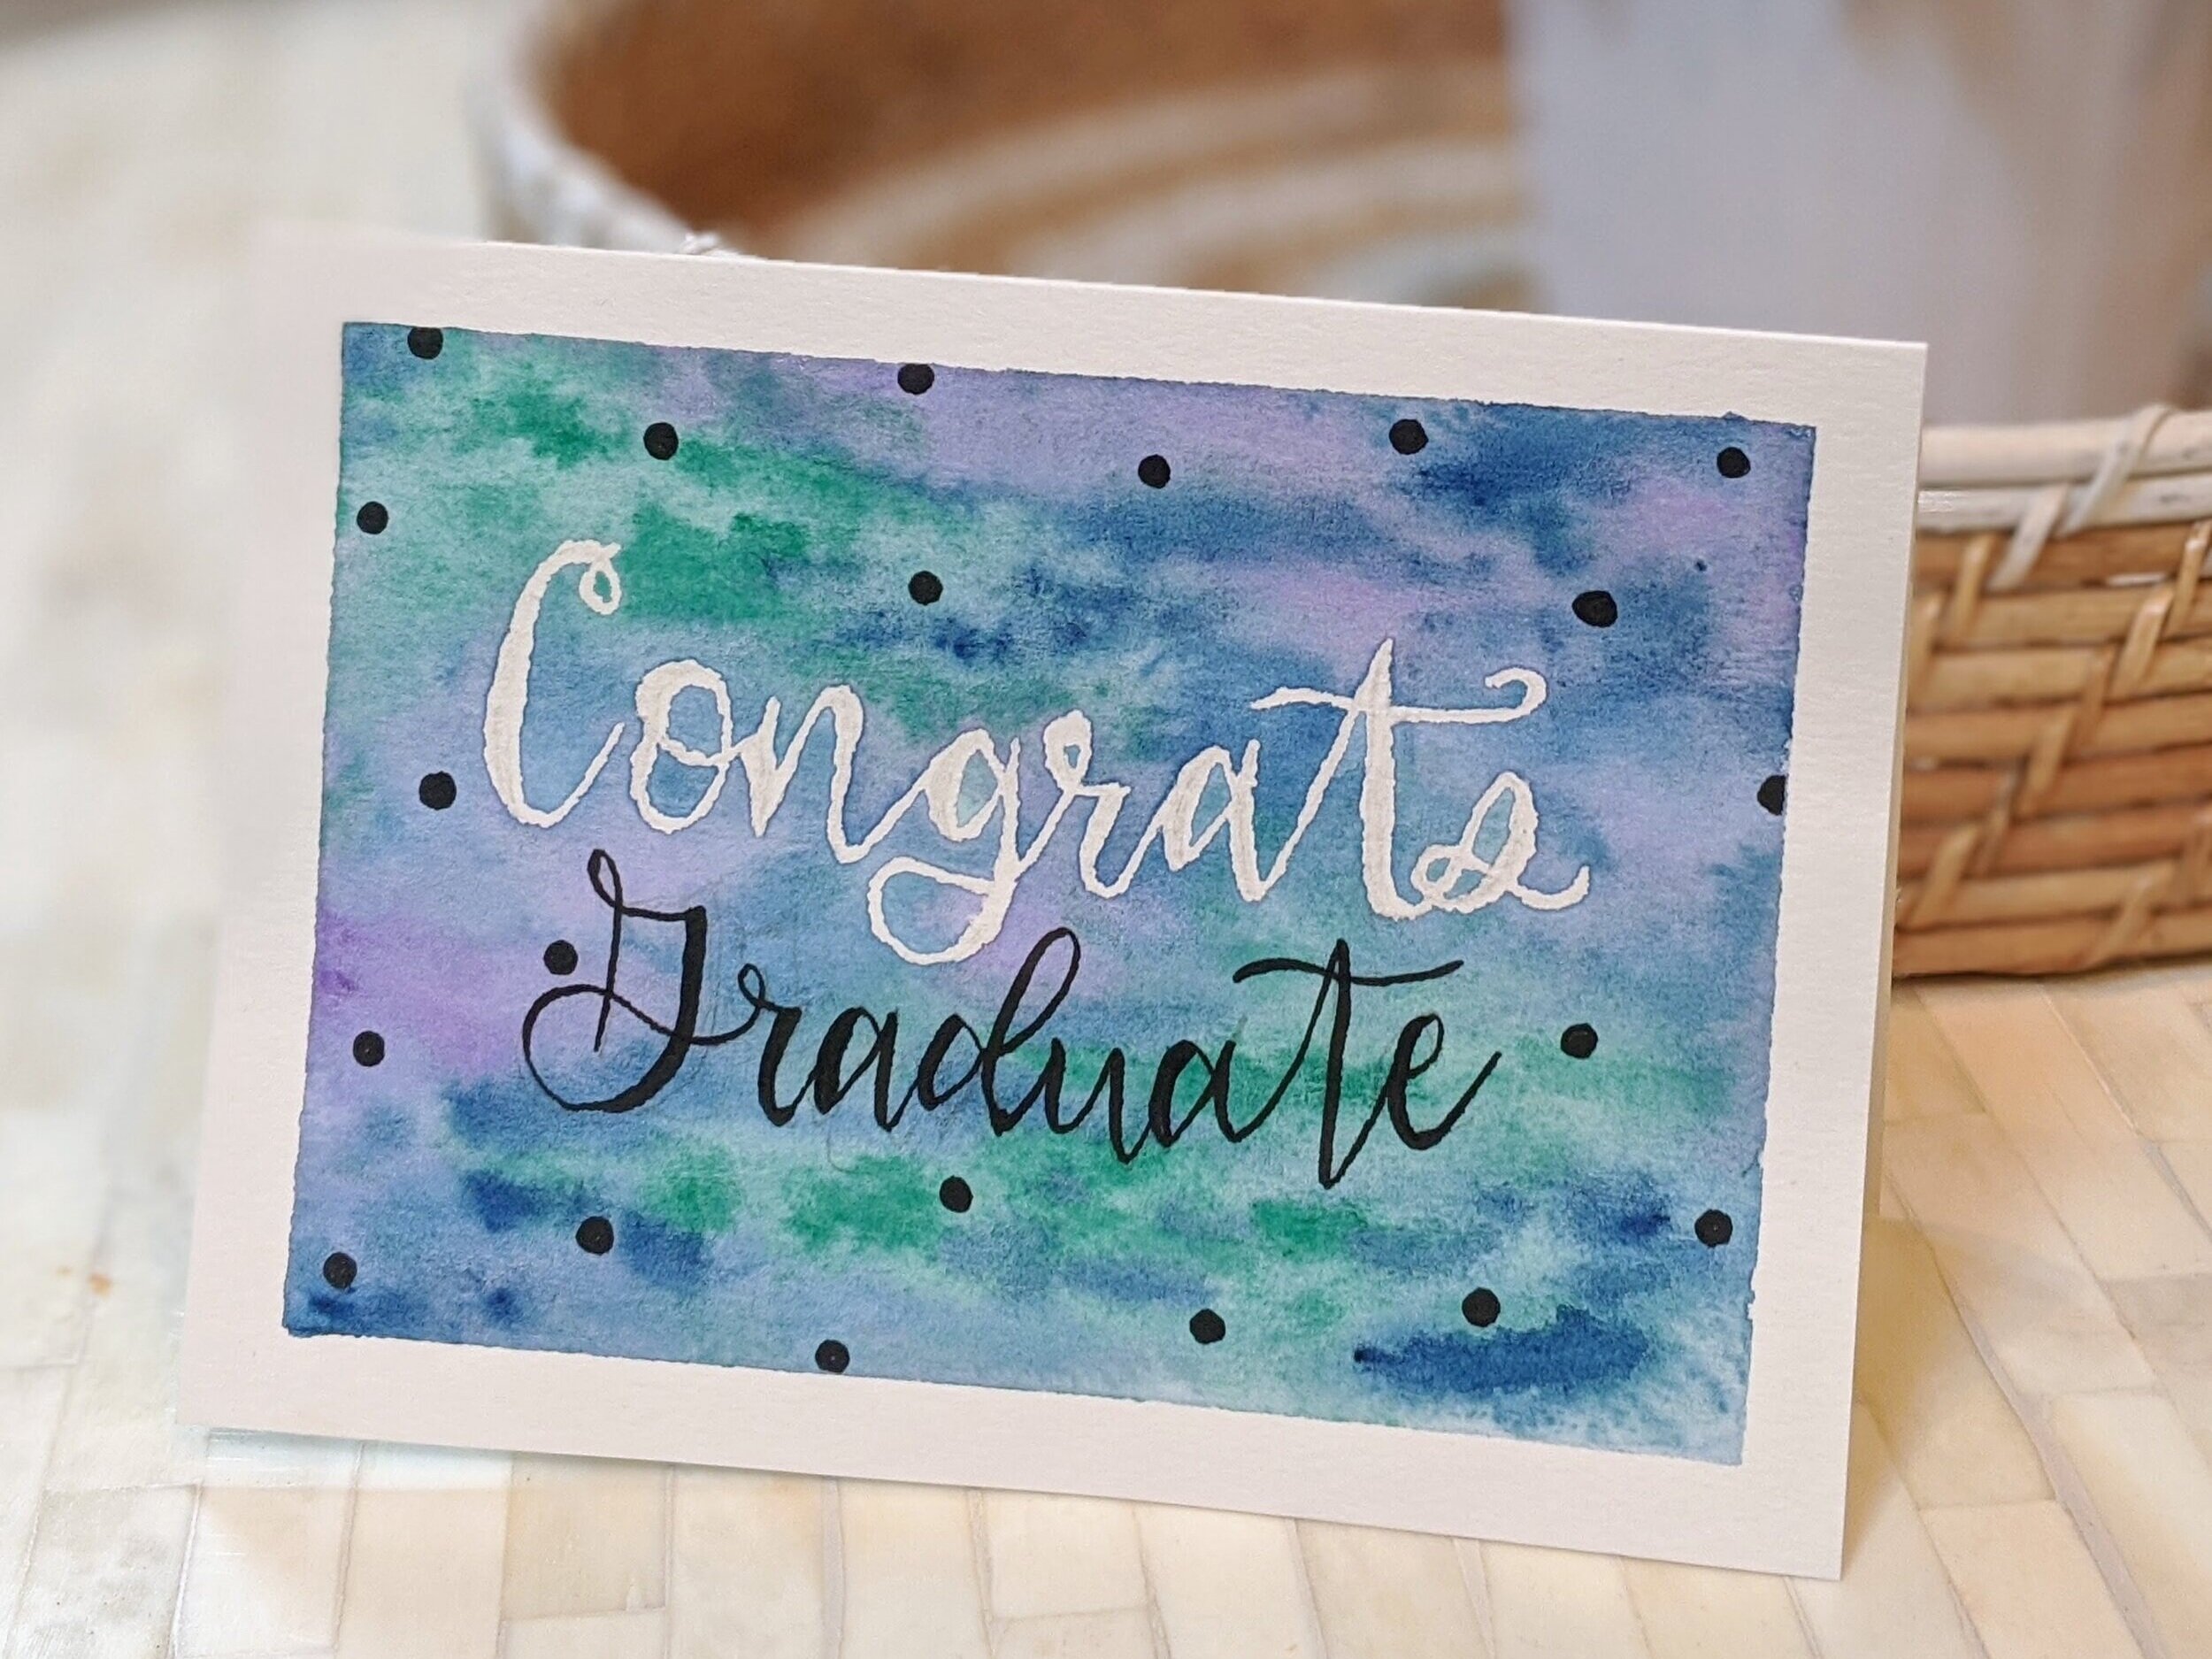
Easy Watercolor Card Ideas for Dads and Grads

This week I decided to dust off my paint brushes and create these special cards to say “thank you” and “congrats” to the dads and grads in my life.
While I’ve dabbled in watercolor painting before, this was my first attempt at making watercolor cards - it was so much fun! What I love about these cards is they are bright and colorful, easy to create, and can be completed using just a few supplies (see full supply list below).
This was also my first attempt at hand lettering. I love the look of the script-like scrawl that hand lettering creates: it’s both whimsical and professional looking at the same time! Admittedly, I’m still a hand-lettering novice, but I’ve found the book The Ultimate Guide to Modern Calligraphy and Hand Lettering for Beginners by June & Lucy to be an invaluable resource, as it includes practice pages for both upper and lower case letters in multiple hand lettering styles.
While there is no magic secret to how I created these cards (for the most part, I sketch with pencil, paint with watercolor, then add hand lettering), I wanted to create this post so I could share the supplies I use and show you a few additional tricks I use to get the above looks.
There are endless ideas for card designs for dads and grads out there - hopefully this posts helps spark some new ideas and gives you some new techniques you can use to create your own cards that are handmade with love <3
Materials
Below is a list of the materials I used to create these cards. Some of the links below are affiliate links, meaning if you click on them and make a purchase then I will get a very small referral fee which helps me continue to create free content on this blog.
Cards: Blank watercolor cards - I used Strathmore Watercolor Cards
Watercolor paints: I like Winsor & Newton paints; their 12 tube student grade set is a great starter set if you are wanting something relatively affordable that is a step up from the kiddie watercolor sets. That said, watercolors of any kind will work for creating cards!
Watercolor brushes: again, any watercolor brush will do. I used a combination of size 8 and size 10 round brushes.
Pencil and eraser for sketching your design
Pen: any felt tip black pen will do, but if you want something a little more professional I like these affordable brush pens from Tombow
Optional Supplies:
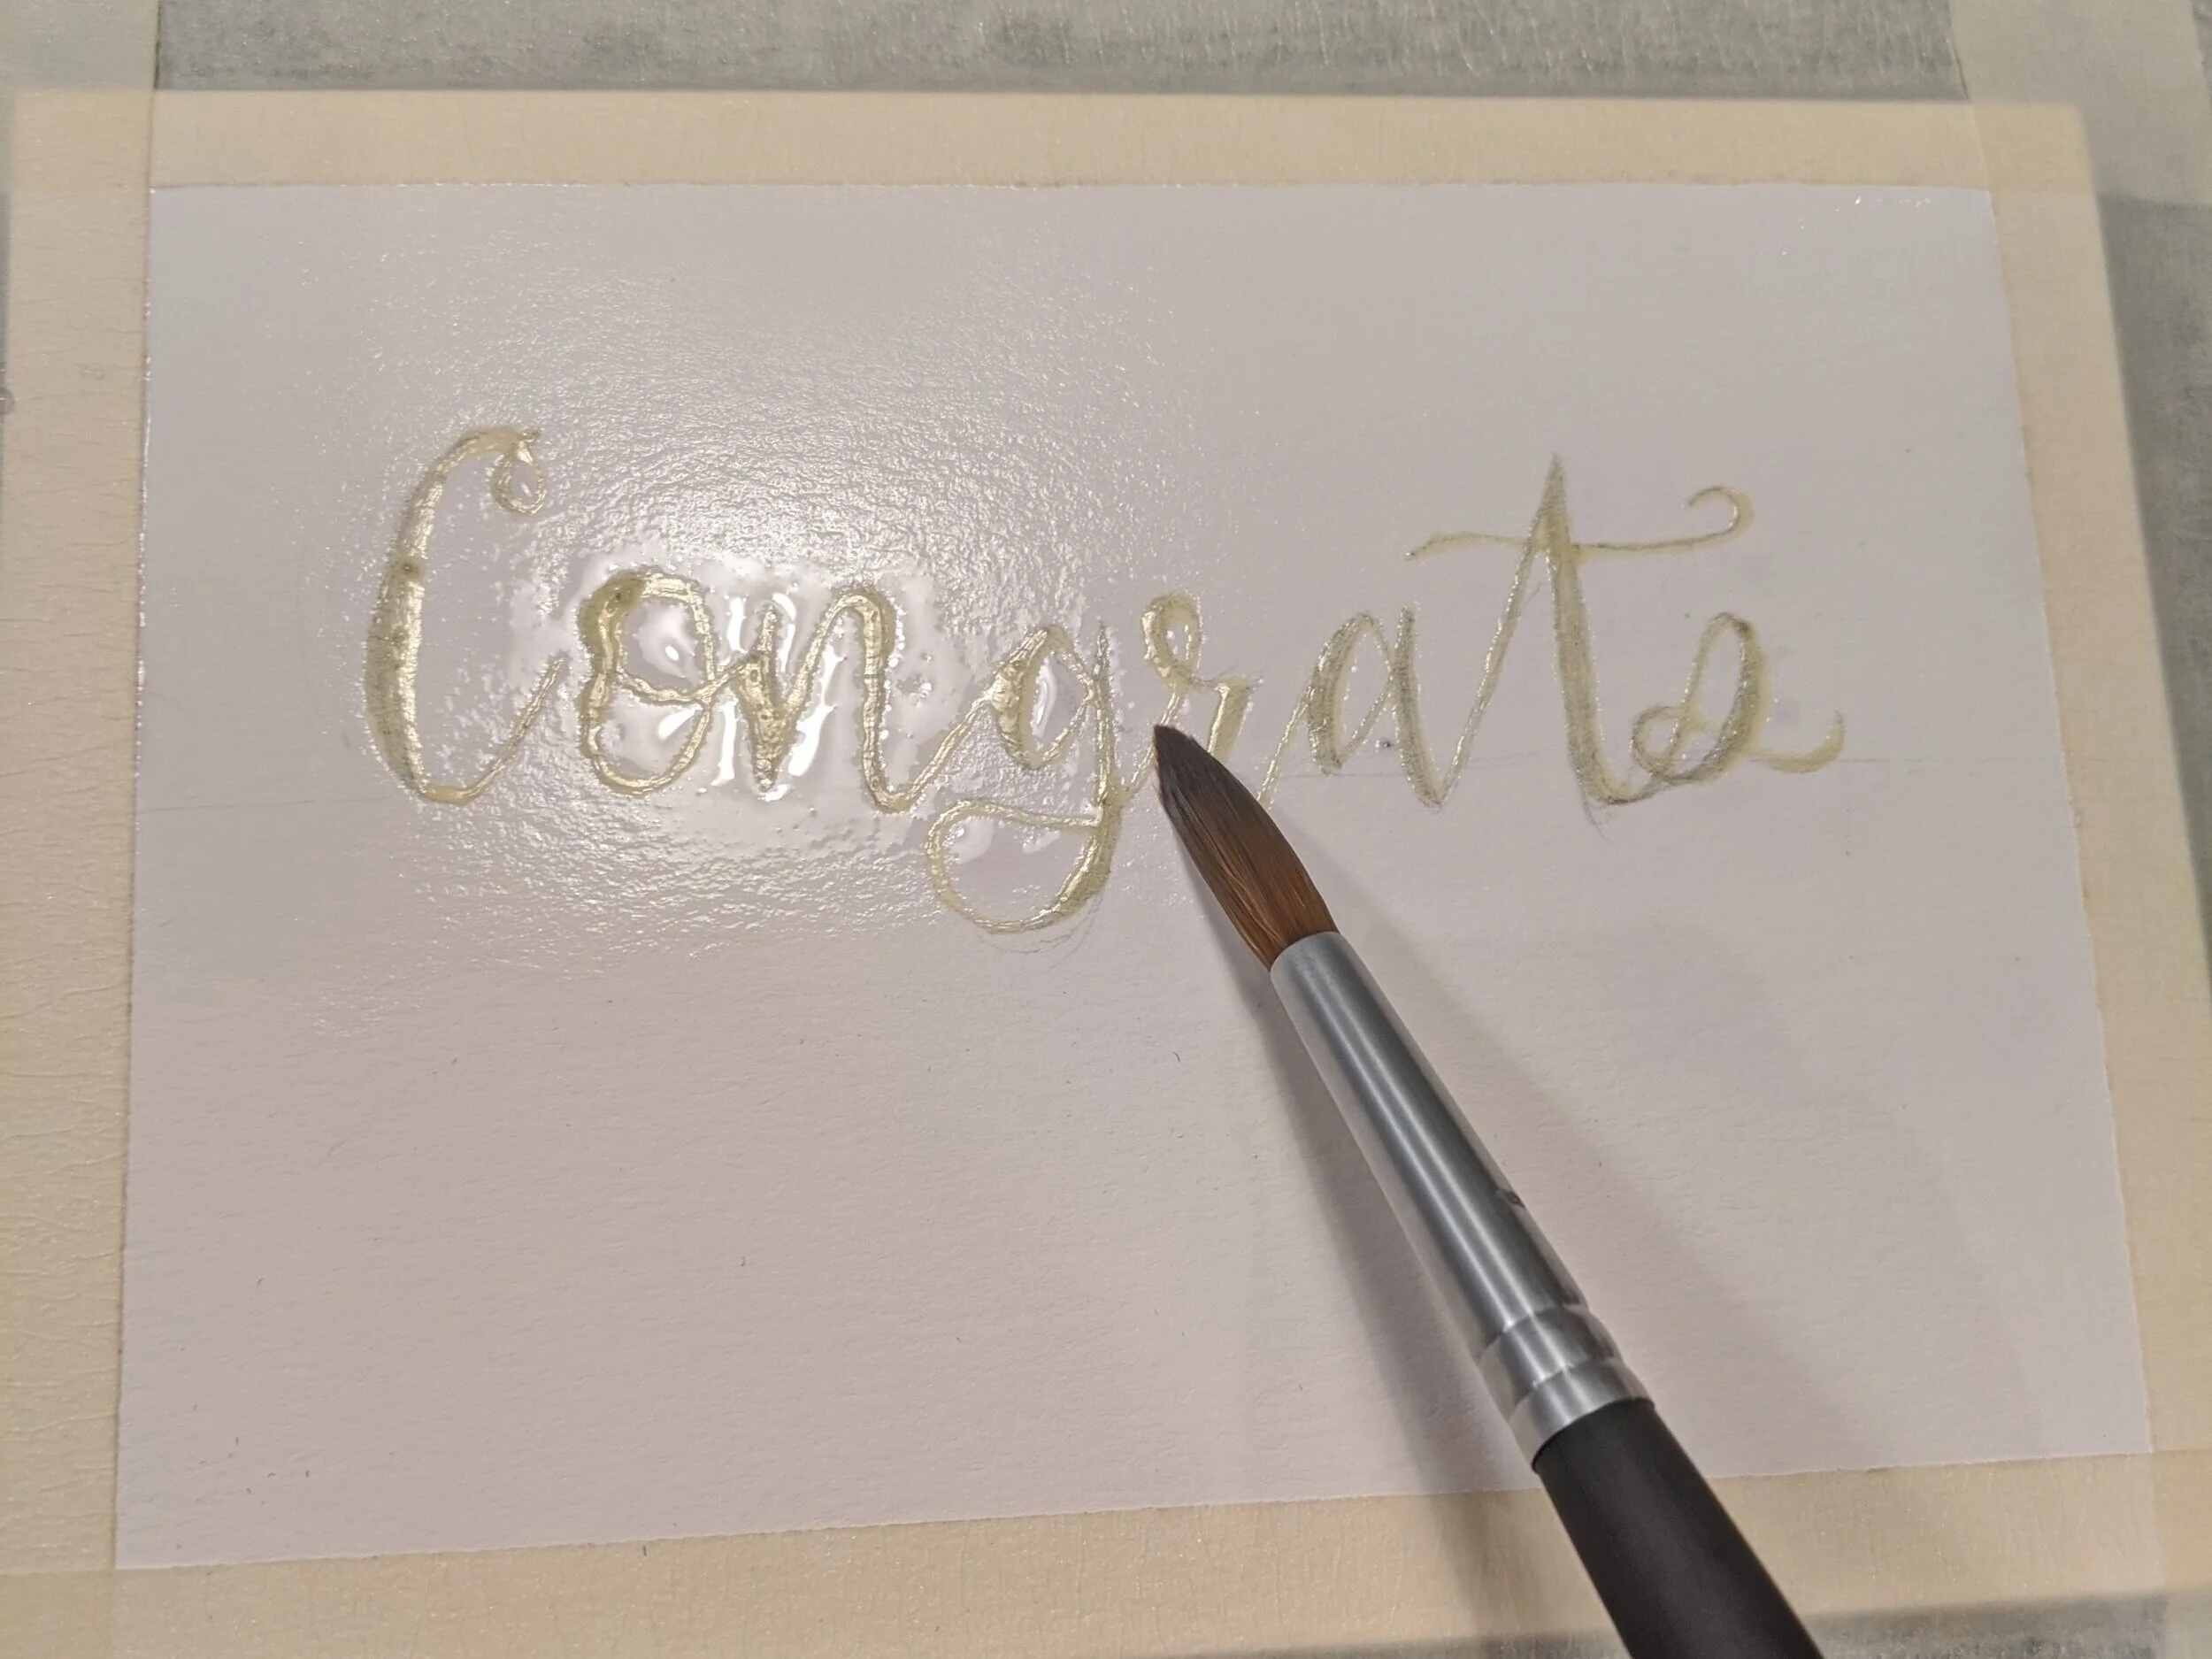
Masking fluid - oh how I love this stuff! This is great for keeping areas white within your watercolors. I prefer to get masking fluid that is slightly yellow in color so it shows up better on white paper, like this one from Winsor Newton. See below for an example of how I used masking fluid in my card designs.
Masking fluid pen - masking fluid can be applied with a regular paintbrush, though full disclosure, the masking fluid tends to ruin the brush, so be sure to pick a brush you don’t really care about. If you want a bit more control and don’t want to ruin one of your brushes, consider purchasing an art ruling pen like this one. I LOVE this thing as it allows you to create really thin lines and have a lot of control - even if you have shaky hands like me :)
Masking tape to hold your card down on a flat surface
Instructions
Here are the step by step instructions for how I created the “Congrats Graduate” card. I used similar techniques in some parts of the other cards as well, so feel free to get creative and apply these techniques in your own way on your own designs.

Step 1 - Setup: Secure your card to a hard surface with masking tape or painters tape. In this card design, I place the masking tape carefully so it covers a 1/2 inch border around the entire card. When the masking tape is removed after the paint is applied, this border will remain white. Once the card is taped in place, lightly sketch your design.

Step 2 - Apply masking fluid: Apply the masking fluid over any areas that you want to remain white. In this case, I used the art ruling pen and applied the masking fluid so that it completely covered the area that I wanted to say “congrats”. Wait for the masking fluid to dry completely before moving on to the next step - typically a minimum of 15 minutes or longer to be safe.
Step 3 - Wet the card. To create the swirled multi-colored background, I used a watercolor painting technique called “wet into wet” painting. To do this, first paint the entire surface of the card with water (no paint). You want to make sure you cover all exposed areas of the card and that the card is evenly dampened. Wait a minute or so for it to dry a little, but not completely. When it’s ready to proceed to step 4 it should be cool to the touch, but not overtly wet.

Step 4 - Add in color: Using your paintbrush, drop in color onto the damp surface of your card. Because the surface is still damp, the colors will expand and bleed into one another creating the cool, swirled look. I recommend using at least two colors for this technique. In my card I used a blend of blues, greens, and a hint of purple. Try not to be overly precise. Part of the beauty of this technique is that the colors blend and swirl with one another in unique ways.

Step 5 - Remove the dried masking fluid: Once your watercolor paint has dried completely, it’s time to remove the masking fluid. To do this, simply rub your finger back and forth over one corner of the masking fluid until you are able to grab hold of it, then peel it off like tape. Once the masking fluid is removed you should see the perfectly white surface underneath.
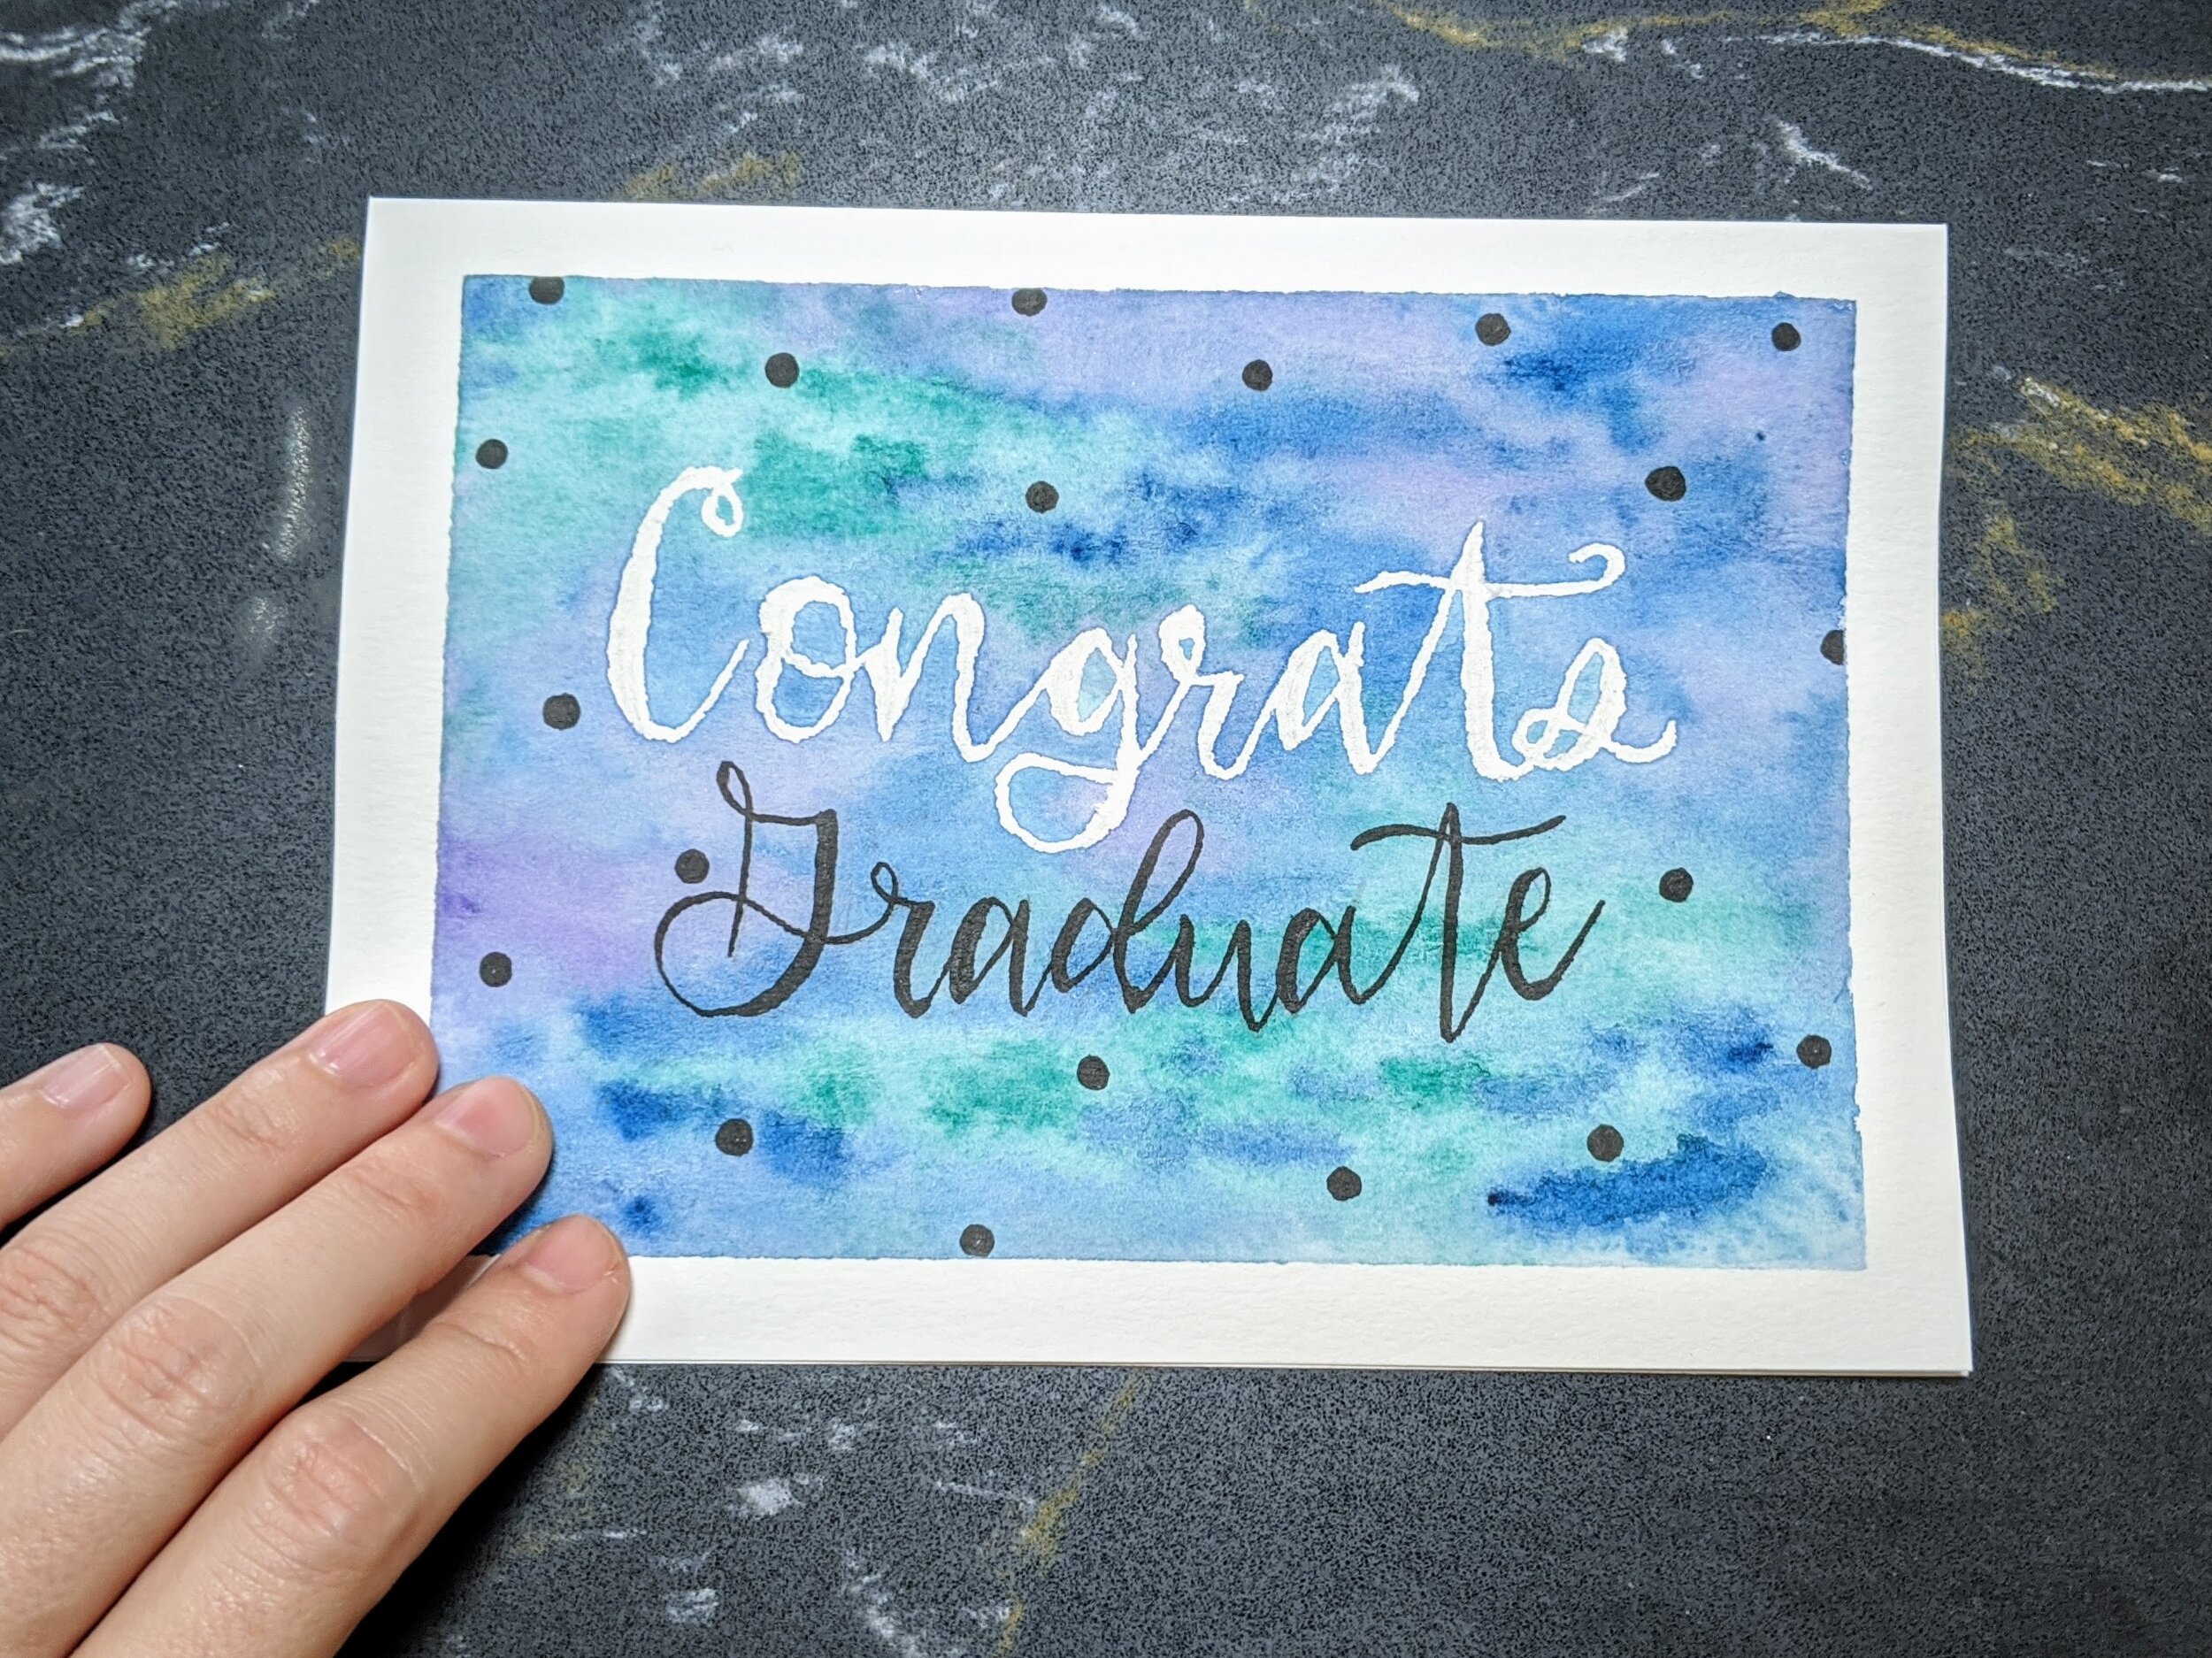
Step 6 - Apply ink art: Using your brush pen, apply any additional word art or embellishments. Once everything is totally and completely dry, you can also erase any remaining visible pencil marks. Be sure to apply the eraser lightly when going over painted areas as you do not want to remove the paint.
Hopefully you can use some of the above techniques to create heartfelt cards for the dads and grads in your life - the possibilities are endless!

***You may make and sell products from my patterns but if you do I ask that you link back to my post. Please do not copy and post this pattern and claim it as your own, or attempt to sell this pattern. Please do not re-publish photos as your own.