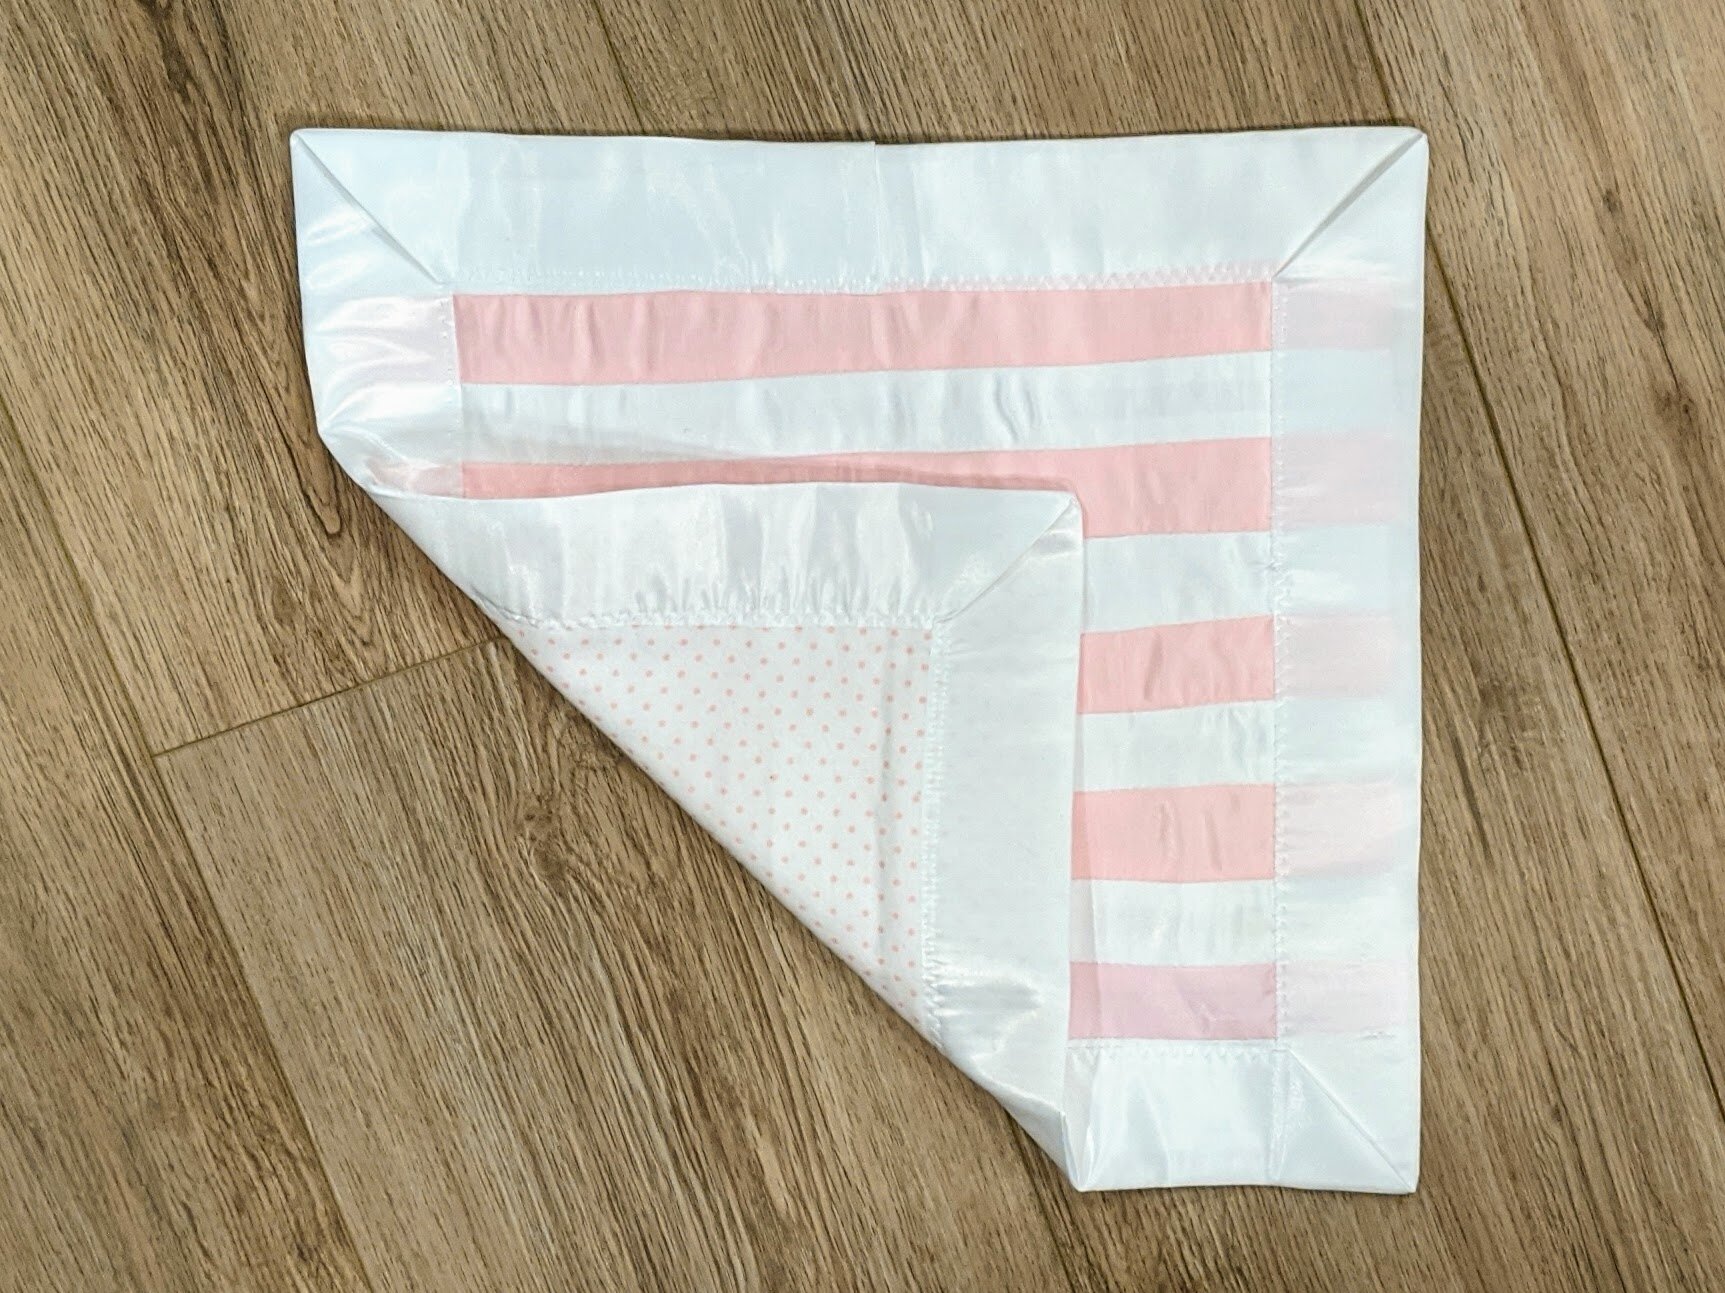
Satin Ribbon Security Blanket Lovey
A handmade lovely - a.k.a. security blanket - can bring great comfort to a child of any age. I still remember the lovies that my brother and I had as kids - I think we slept with them until we were in our double digits!
After making flannel blanket bundles for a number of friends, I noticed two things: 1) that the kiddos LOVE the silky satin edges, and 2) that I had a lot of leftover satin blanket binding. Not wanting that silky satin binding to go to waste, I decide to make a wonderfully sweet, silky little lovey.
Materials:
~4.5 yards of 2 inch width satin ribbon - cut into 11 strips that are 14” long each. Note: For this project I used leftover 2” blanket binding, which is actually 4” wide when laid flat, so I had to cut it down the middle to form strips 2” wide. If you don’t have leftover blanket binding, you can also just buy 2” width satin ribbon and it will work just as well. You can use one or many colors of ribbon. For my project, I used two colors - pink and white, so I used 84” of white ribbon (6 strips at 14” each) and 70” of pink ribbon (5 strips at 14” each).
~2 yards of satin blanket binding
1/2 yard of flannel fabric
Basic sewing supplies, including straight pins, sewing machine, thread, pencil, scissors, etc.
Instructions:
Sew Your Ribbon Strips Together
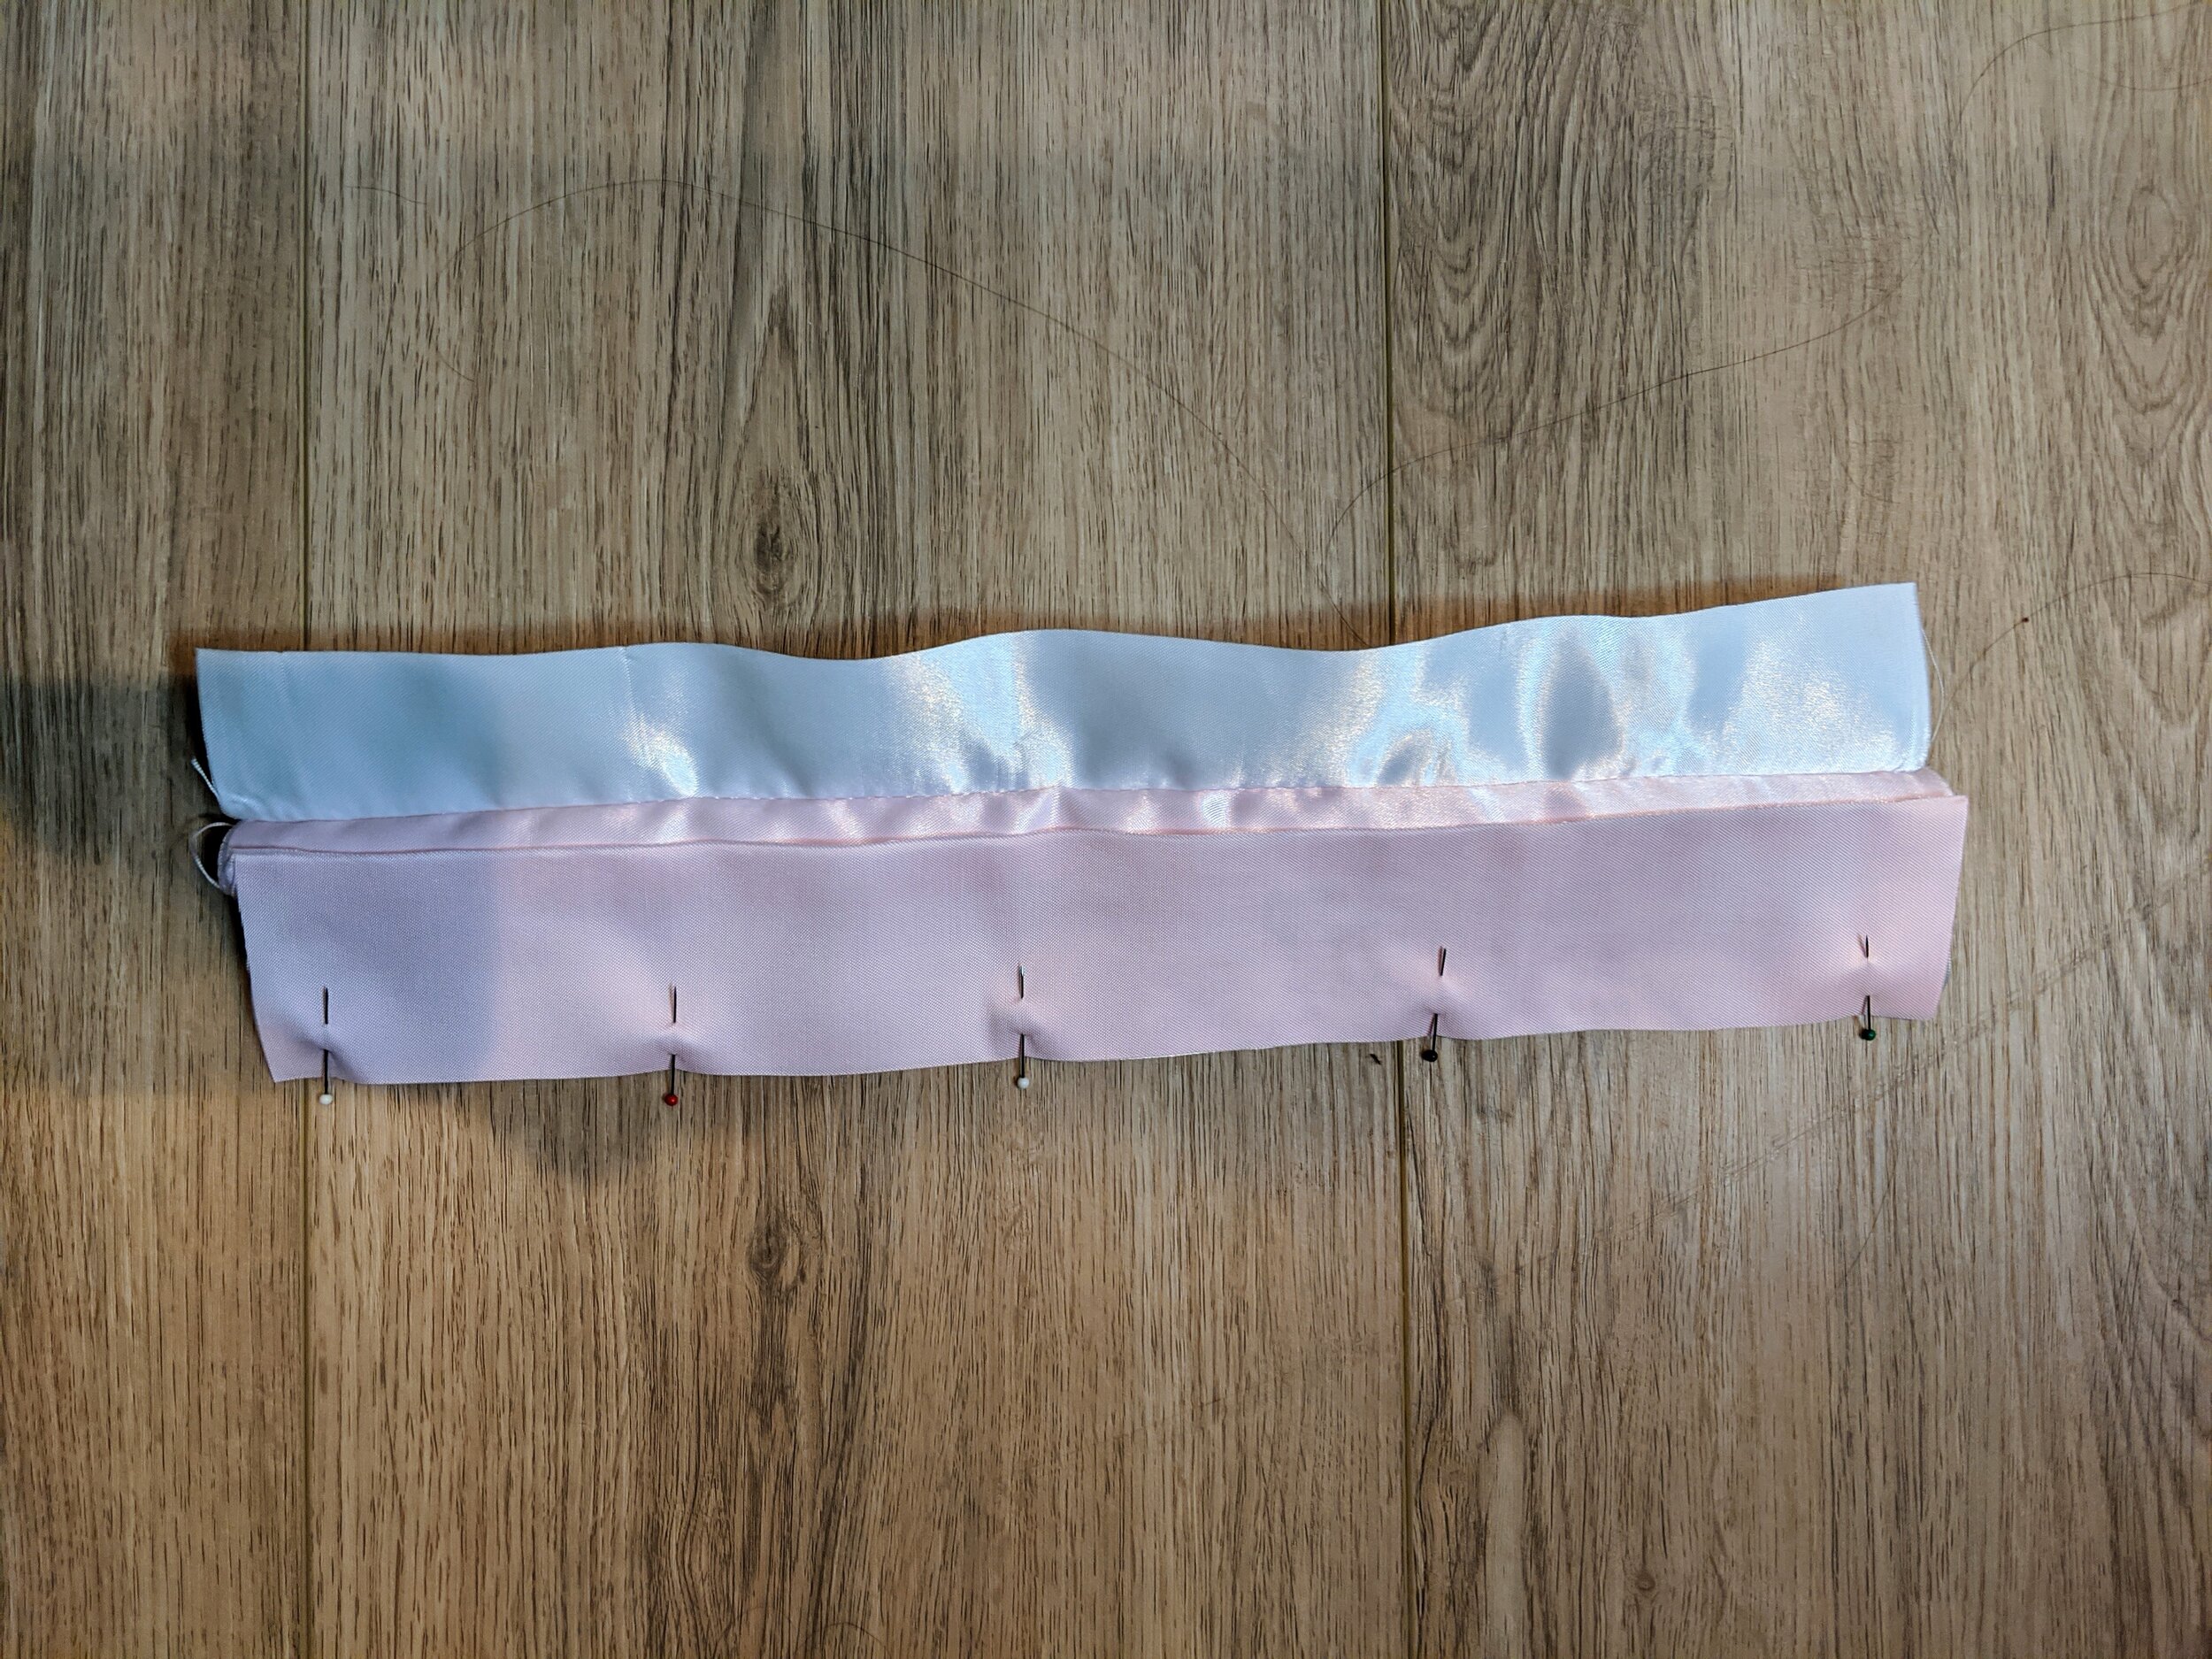
Take two of your ribbon strips. With right sides facing, pin the strips together along one edge so the wrong sides are facing out. Sew the two strips together along one long edge remembering to backstitch at the beginning and end of the seam. Seam width = 3/8 inch.
Open up so the seam is in the middle between the two strips. Lay shiny side down, and using a hot iron press open the seam so that it lays flat.
Repeat this process nine more times adding additional ribbon strips until you have sewn all the ribbon strips together.
Bind Together With Flannel and Satin Edging
Cut out a piece of your flannel that measures 14” x 14”
Lay your sewn satin ribbon piece on top of the flannel WRONG sides facing each other and RIGHT sides facing out.
Starting in the middle of one edge, add your satin blanket binding pinning in place as you go. When you get to the end, cut the satin binding so that it overlaps with the start of the satin binding by about one inch. So the raw edge doesn’t show, tuck under the end of the binding about half an inch. Press with a hot iron. Pin in place.
Using a zig zag stitch, stitch the binding in place. For a tutorial on how to sewn on blanket binding, click here.
Remove straight pins, cut excess thread and voila! Your satin ribbon lovey is complete.
***You may make and sell products from my patterns but if you do I ask that you link back to my post. Please do not copy and post this pattern and claim it as your own, or attempt to sell this pattern. Please do not re-publish photos as your own.


